We've all been there. That split second of silence, followed by the sickening crunch of your phone hitting the pavement. It's a universal feeling of dread. But before you panic, the very first thing you need to do is a little detective work to figure out just how bad the damage really is. This assessment is the crucial first step that will guide every decision you make next.
What to Do When Your Phone Screen Cracks
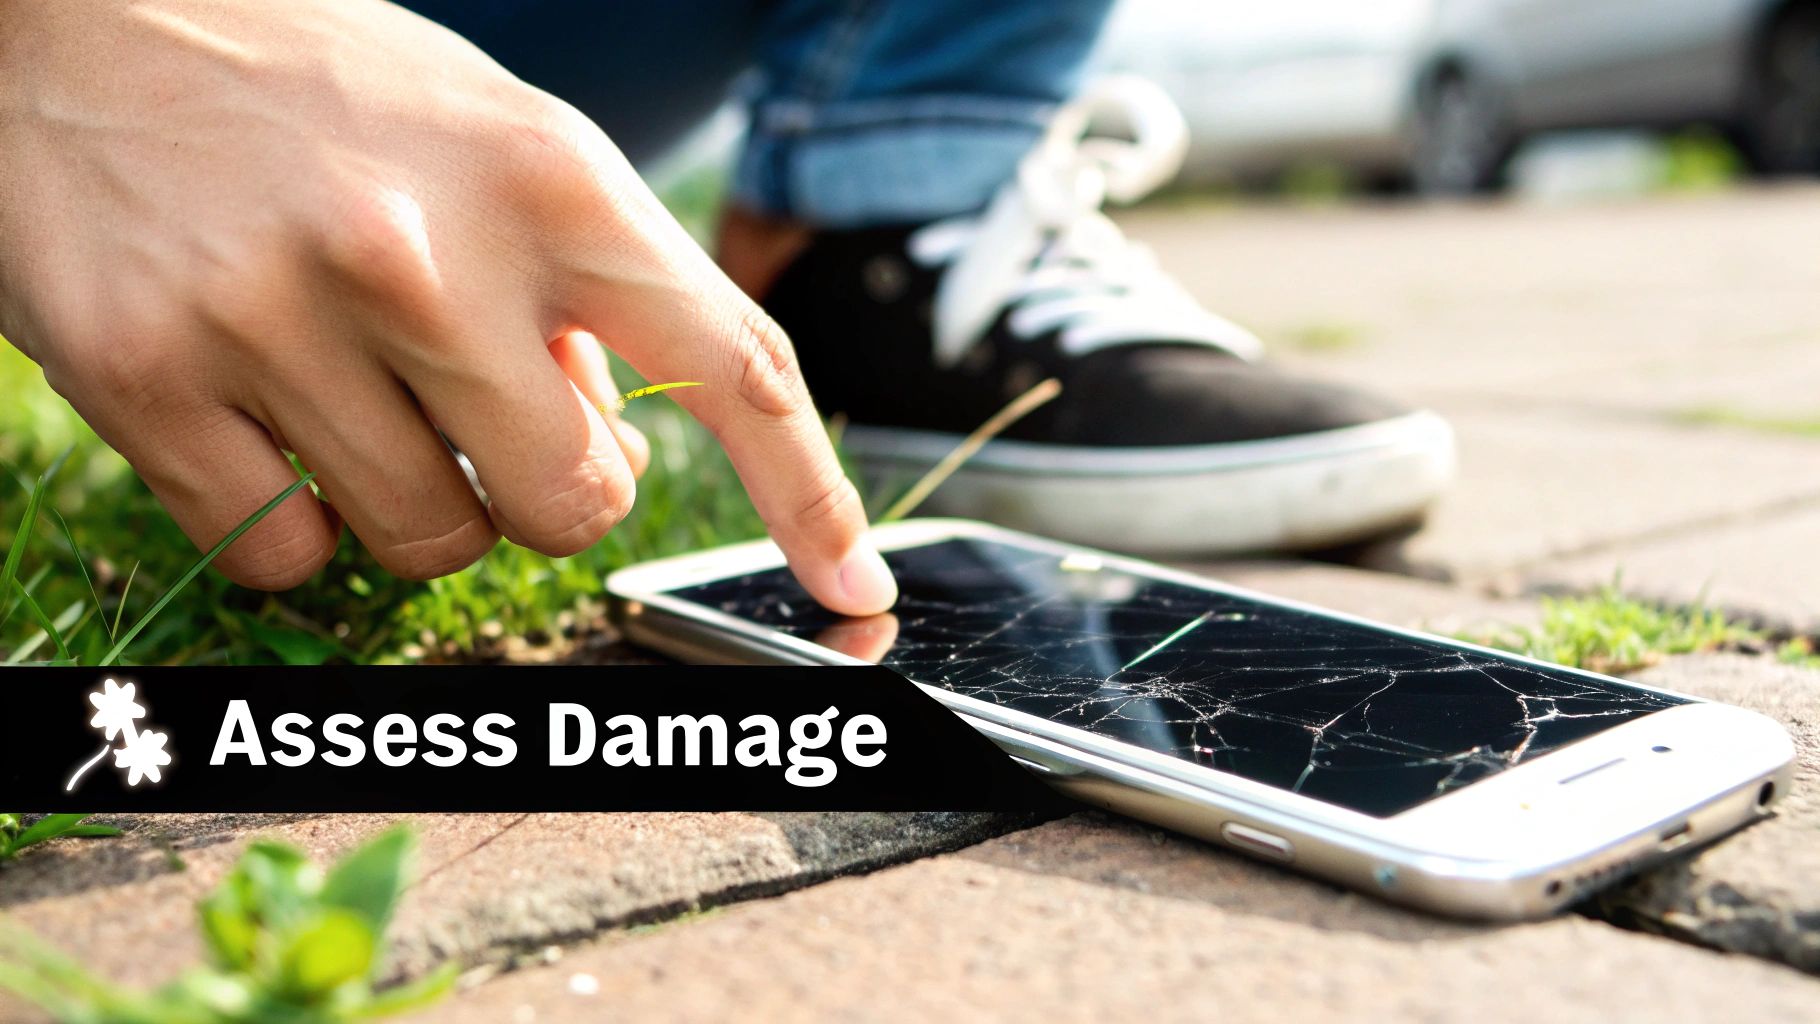
Resist the urge to just focus on the spiderweb of cracks on the surface. The real story often lies deeper, with the sensitive electronics sitting just beneath the glass. Getting a clear picture of the situation will help you choose the smartest, most cost-effective path forward.
And let's be honest, in Australia, this is an incredibly common problem. With around 34.4 million active mobile connections—that's more phones than people, at 128% of our population—our devices are glued to our hands. Since the average Aussie is on their phone for about 2.58 hours a day, those accidental drops are practically inevitable. This reality highlights just how often we find ourselves needing to replace a phone screen.
Diagnose the Damage Beyond the Glass
A proper diagnosis goes way beyond a quick visual check. You need to test the screen’s performance to see if the damage has affected more than just the top layer of glass.
Here's how to do a thorough check yourself:
- Test Touch Response: Carefully run your finger across the entire screen. Swipe, tap, and try to use every inch of the display. Are there any "dead spots" that don't register your touch at all? If so, the digitiser (the layer that senses touch) is likely damaged.
- Look for Display Issues: Pull up a completely white image, then a black one. Do you see any strange discoloured blotches, weirdly bright spots, or tiny dead pixels? Flickering lines or black, ink-like splotches are tell-tale signs that the underlying LCD or OLED panel is toast.
- Examine the Edges and Frame: Even small cracks can travel. See if the damage runs all the way to the metal or plastic frame. Cracks reaching the edge can weaken the phone's structure and, importantly, break the seals that provide water resistance.
This initial diagnosis is everything. A couple of hairline cracks might just be a cosmetic issue you can live with (or cover with a screen protector), but a screen that doesn't respond to touch or shows a distorted image needs a full replacement, no question about it. When putting this guide together, we looked at great examples of how-to guides that drive results to make our advice as clear and practical as possible.
To help you out, here's a quick checklist to make sense of what you're seeing.
Damage Assessment Checklist
Use this quick reference table to identify the type and severity of your phone screen damage.
| Symptom | What It Looks Like | Potential Severity | Recommended Action |
|---|---|---|---|
| Cosmetic Cracks | Fine lines or spiderwebs, but the display and touch work perfectly. | Low | A screen protector can prevent spreading. A repair is optional. |
| Dead Spots | Areas of the screen are completely unresponsive to touch. | Medium | The digitiser is damaged. A full screen assembly replacement is needed. |
| Display Glitches | Flickering lines, discoloured patches, or black "ink" splotches. | High | The underlying LCD/OLED is broken. The phone is unusable without a replacement. |
| Total Blackout | The screen is black, but you can hear sounds or feel vibrations. | High | The display panel has failed completely. An urgent replacement is required. |
Hopefully, this table gives you a clearer picture of what you're dealing with.
Key Takeaway: The most important distinction is between a simple glass crack and a damaged display panel. If it's just the glass, it's mostly a cosmetic issue. But if touch or the picture itself is affected, you're looking at a more serious and urgent repair.
If the damage is severe and your phone is glitching out, you also run the risk of losing your data. It’s smart to think about this early on. If you're worried, you can find data recovery services near me in case things take a turn for the worse. Now that you understand the symptoms, you’re ready for the next big decision: should you try to fix it yourself or call in a professional?
Should You Repair It Yourself or Hire a Pro?
So, you’ve sized up the damage and now you’re at a crossroads. Do you roll up your sleeves and try to replace the screen yourself, or do you hand your phone over to a seasoned professional? This isn't just about saving a few dollars; it's a careful balancing act between risk, time, and your own technical confidence.
The pull of the DIY route is strong, I get it. Online tutorials can make it look deceptively simple, and the idea of a cheap fix is always appealing. For some, there’s also the satisfaction of pulling off a tricky technical challenge.
But let's be realistic—modern smartphones are intricate puzzles packed with tiny, fragile components. One wrong move, like a slipped screwdriver or a torn ribbon cable, can quickly turn a straightforward screen repair into a permanently dead device.
The Allure of a DIY Screen Replacement
Jumping into a DIY repair can feel empowering. You order a kit online, watch a couple of videos, and suddenly you feel ready to play technician for the afternoon. For certain phones, this can actually be a great option.
Take an older, popular model like an iPhone 8. There are countless high-quality video guides out there and parts are easy to find. If you're patient, organised, and have a steady hand, a successful repair is definitely achievable and could save you a decent amount of cash.
The potential for disaster, however, is very real. A common mistake I see is people applying too much heat when trying to loosen the screen's adhesive, which can cook the battery or other sensitive parts. Another classic pitfall is failing to transfer tiny components like the earpiece speaker or proximity sensor to the new screen correctly, leaving you with a phone that can't make proper calls.
Pro Tip: If you decide to go the DIY route, please invest in a quality tool kit. Those cheap plastic tools can break mid-repair, and low-grade screwdrivers will easily strip the tiny, specialised screws inside modern phones, making reassembly impossible.
When to Call in the Professionals
While DIY has its place, there are plenty of scenarios where hiring a professional is the only sensible choice. The complexity of modern smartphones has skyrocketed, making self-repair an increasingly risky game for the average person.
Think about a newer Samsung Galaxy with a curved OLED display. These screens are notoriously difficult to remove without causing more damage, and the replacement parts alone are incredibly expensive. One mistake doesn't just mean you've wasted money on a kit; it could mean you've destroyed a phone worth over a thousand dollars.
Opting for a professional service like CTF Mobile Phones & Computer Repairs removes this risk entirely. You're not just paying for a new screen; you're paying for experience, specialised tools, and peace of mind. A skilled technician has done this exact repair hundreds of times. They know exactly where the hidden clips and fragile cables are.
Most importantly, any reputable repair shop offers a warranty on both their parts and their work. If the new screen is faulty or the repair isn't perfect, they’ll sort it out at no extra cost. That's a guarantee you simply don't get when you do it yourself. You can learn more about the range of issues we cover in our comprehensive mobile phone repairs guide.
This isn't just my opinion; the trend is clear. The global smartphone repair market, currently valued at around USD 20.98 billion, is on track to more than double by 2035. Here in Australia, right-to-repair initiatives are encouraging people to fix devices instead of replacing them, which only bolsters the demand for skilled technicians. You can read more about the smartphone repair market's projected growth.
To make the choice a bit clearer, let's break it down side-by-side.
DIY vs Professional Repair at a Glance
Here’s a straightforward comparison to help you weigh the key factors when deciding between doing the repair yourself or handing it over to an expert.
| Factor | DIY Screen Replacement | Professional Repair Service |
|---|---|---|
| Total Cost | Lower upfront cost for parts, but a high risk of additional costs if you cause more damage. | Higher initial cost, but it's a fixed price with no surprise expenses. |
| Time Commitment | Can take several hours, especially for a first-timer. Factor in research and waiting for parts. | Typically completed in under an hour for common models. Walk in, walk out convenience. |
| Risk Level | High. You could permanently damage your phone, lose data, or void your warranty. | Very low. The technician assumes all the risk, and the work is backed by a warranty. |
| Guaranteed Result | No guarantee. If the repair fails or the part is faulty, you are on your own. | Yes. A professional service guarantees the repair will be successful. |
Ultimately, the decision comes down to your specific situation. If you have an older, simpler phone and you're confident in your technical skills, a DIY repair could be a rewarding project. For just about everyone else, especially those with newer, more valuable devices, a professional service is the smarter, safer, and often more logical investment.
Getting Your Hands on the Right Tools and Parts
Taking on a DIY phone screen replacement is a gutsy move, and honestly, whether you succeed or fail is decided long before you ever touch a screw. It all boils down to your prep work. Having the right tools and a top-notch replacement screen isn’t just a good idea—it’s the entire foundation of a successful repair.
Trying to cut corners at this stage is a recipe for pure frustration. Picture yourself trying to pry open a tightly sealed phone with a butter knife or fumbling with microscopic screws using the wrong driver. It’s a fast track to a scratched-up frame, stripped screws, and a repair job that's over before it even starts.
Building Your Essential DIY Toolkit
Before you even think about ordering a new screen, you need to assemble your gear. A proper repair toolkit is a small investment that pays for itself by preventing much more expensive mistakes down the line. While kits can vary, a few items are absolutely non-negotiable.
Here’s what you absolutely must have:
- Precision Screwdriver Set: Modern phones are packed with tiny, specialised screws. You'll need a set with various heads, especially the Pentalobe (for iPhones) and Phillips #000 drivers. Using the wrong size is the number one reason people strip screws, turning a simple job into a nightmare.
- Spudgers and Prying Tools: These are your best friends for this job. Usually made of soft plastic or nylon, they’re designed to help you gently separate components and unclip delicate ribbon cables without scratching or breaking anything.
- Suction Cup: This little tool is crucial for lifting the screen assembly away from the phone's body once you've softened the adhesive. Without it, you’ll struggle to get a clean lift.
- Heat Gun or Hairdryer: You'll need a gentle, controlled source of heat to soften the powerful adhesive holding the screen in place. This makes it possible to pry it off without cracking the glass even more or, worse, damaging the frame.
- Tweezers: Essential for handling those impossibly small screws and guiding delicate flex cables back into their connectors.
A pro tip? Don't skimp on a magnetic project mat. These mats have little grids that help you keep track of every single screw as you remove it. Mixing up screws is a classic DIY blunder that can cause serious internal damage when you put everything back together.
How to Navigate the World of Replacement Screens
Alright, now for the most important decision: sourcing a quality screen. This is precisely where most DIY repairs go off the rails. The market is absolutely flooded with options, and trust me, not all screens are created equal. Knowing the difference is key to getting a result you’ll actually be happy with.
You'll generally come across three tiers of replacement screens:
- OEM (Original Equipment Manufacturer): These are the exact same parts the phone’s manufacturer uses. They guarantee the best quality, perfect colour accuracy, and flawless touch response. The catch? They're often the most expensive and can be a real pain to find.
- Aftermarket: These are third-party copies, and the quality is all over the place—from nearly identical to the original, to just plain awful. High-quality aftermarket screens can be a fantastic middle ground, but the cheap ones often have terrible brightness, off-putting colours, and laggy touch response.
- Refurbished: These are original screens that have had their cracked glass professionally replaced. Because they use the original LCD or OLED panel, the display quality is usually excellent. However, the quality of the new glass can vary.
The Australian smartphone market is only getting bigger—it's projected to grow from 30.3 million units to 34.8 million by 2033. With phones getting more advanced, the quality of your replacement part matters more than ever. A cheap copy on a premium phone sticks out like a sore thumb. You can find more insights on Australia's evolving smartphone market trends on BriefingWire.com.
Compatibility Is a Deal-Breaker
Finally, and I can't stress this enough, you must verify the part's compatibility with your exact phone model number. A screen for an iPhone 13 will not work on an iPhone 13 Pro. They look similar, but the connectors and internal layout are different.
Check the model number in your phone's settings or on the back of the device itself, then double- and triple-check it against the part you're about to buy. This one simple step can save you from a very expensive and infuriating mistake.
What the Replacement Process Actually Looks Like
Alright, you've got your tools laid out and your shiny new screen is waiting. This is where the real work begins, and let me tell you, it's a true test of patience and precision. Forget those sped-up YouTube videos that make it look like a 5-minute job. A successful DIY screen replacement is a slow, methodical process that needs your full focus.
Let’s get real about what this operation involves, from prepping your workspace to that heart-in-your-throat moment when you power it on for the first time.
The very first thing you need to do has nothing to do with the phone. It's all about setting up a clean, well-lit, and organised space. You're about to handle screws so tiny they almost seem to vanish into thin air, so you absolutely need a clear, flat surface where nothing can roll away. A simple sheet of white paper can be a lifesaver for making these microscopic components visible.
Once your battle station is ready, the single most important safety step is to power the phone down completely. I don't mean just putting it to sleep—it needs to be fully off. Trying to work on a live device is the fastest way to short-circuit the motherboard, instantly turning a screen repair into a much, much more expensive headache.
Getting Inside: Heat and Prying
Modern phones are sealed up tight with a powerful adhesive that keeps dust and moisture out. To get past this, you need to apply gentle, consistent heat all around the edges of the screen. A heat gun on a low setting or even a hairdryer can get the job done.
The trick is to keep the heat source moving constantly. You’re just trying to soften the adhesive so it becomes pliable, not melt the phone's plastic frame. A good rule of thumb I've learned is to heat it until it's quite warm to the touch, but not so hot you have to pull your hand away.
With the adhesive softened, it’s time to create an opening. This part is a delicate dance. Use a suction cup to gently pull up on the screen, creating a tiny gap between the display and the frame. As soon as you see that sliver of space, slide a thin plastic prying tool or a guitar pick in.
Crucial Tip: Whatever you do, never use metal tools to pry open a phone. You will absolutely scratch and gouge the frame. Even worse, you could puncture the battery, which is incredibly dangerous. Stick with soft plastic tools made specifically for electronics repair.
Slowly and patiently, work your prying tool around the entire edge of the phone, slicing through the warm adhesive. You'll feel some resistance; just take your time and apply more heat if you need to. Rushing this stage is a guaranteed way to bend the frame or crack the screen even more.
The infographic below really nails the first steps of sourcing quality parts, which is honestly where a successful repair truly begins.
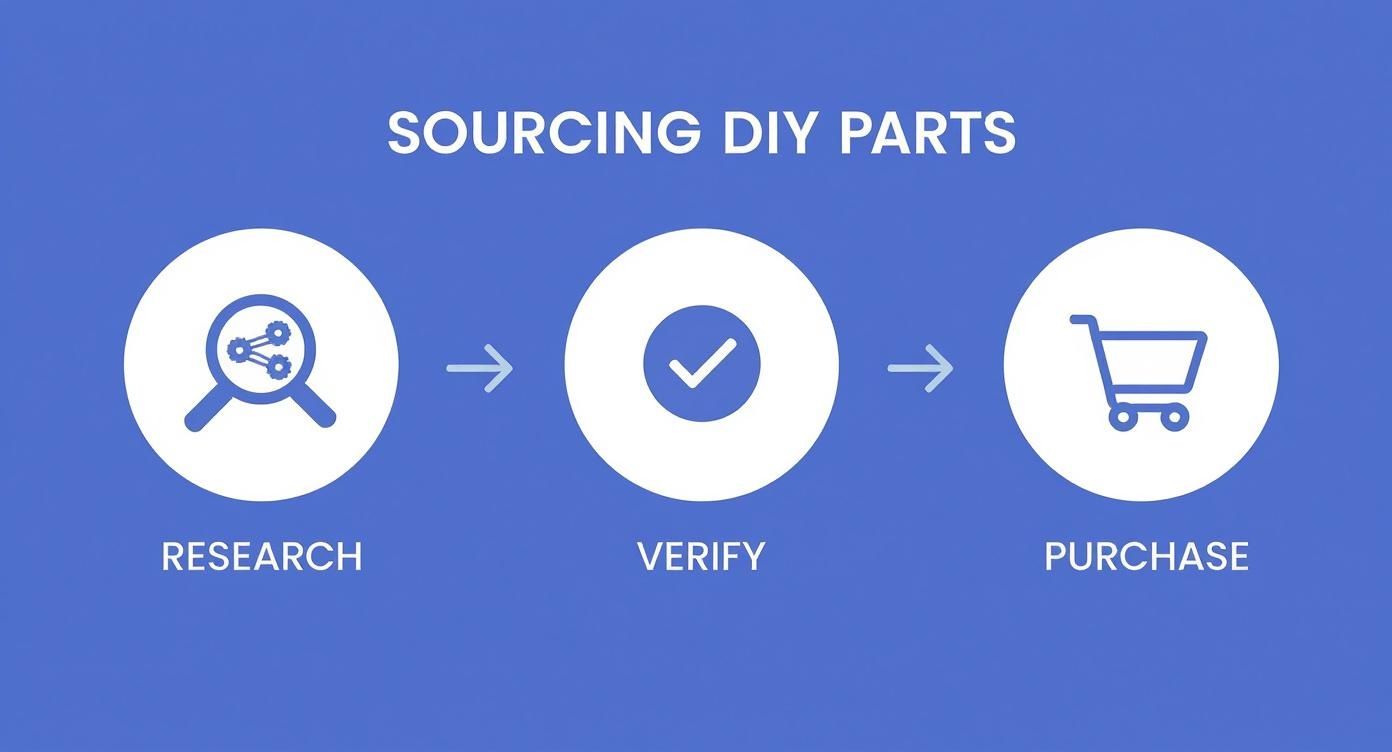
This just goes to show that a good repair starts long before you pick up a single tool; it all begins with careful research and making sure you have the right parts.
Navigating the Phone's Guts
Once you've cut through the adhesive, don't just rip the screen off. It's still attached to the motherboard by several thin, flat ribbon cables (we call them flex cables). These things are unbelievably fragile and are the Achilles' heel for many first-time DIYers.
Open the phone slowly, like you're opening a book, making sure not to put any tension on those cables. You’ll need to spot where they connect to the main board. Usually, these connectors are covered by small metal brackets held down by more of those tiny screws.
This is where your magnetic mat and precision screwdrivers become your best friends.
- Carefully remove the screws holding down the protective brackets.
- Place every single screw on your mat in the exact pattern you removed them. Phones often use different length screws right next to each other. Putting a long screw in a short hole can punch right through the motherboard, killing your phone for good.
- Gently lift the brackets off with a pair of tweezers.
Now you can see the connectors. Using a plastic spudger, carefully pop each connector up from its socket. They should detach with a faint click. Again, no metal tools here—you can easily wreck the delicate sockets on the board. Tearing a flex cable or its socket is probably the number one mistake that spells game-over for a DIY repair.
With the old screen disconnected, you can finally set it aside.
The Component Transfer and Putting It All Back Together
Here's a detail many guides gloss over: your new screen is often just that—the screen. You'll probably have to transfer several small but vital components from your old, broken screen over to the new one. This is fiddly, intricate work that requires a very steady hand.
These parts often include:
- The earpiece speaker
- The front-facing camera assembly
- The proximity and ambient light sensors
Each of these is held in place with more tiny screws and brackets. You have to move them over with extreme care, making sure everything is perfectly aligned in the new screen assembly. For instance, if the proximity sensor is off by even a fraction of a millimetre, your screen might not turn off properly when you hold the phone to your ear for a call.
Reassembly is pretty much the reverse of everything you just did, but with a couple of critical checks.
- Reconnect the new screen's flex cables to the motherboard. You should feel a firm, satisfying click when they're seated correctly.
- Do a test boot. Before sealing anything, power the phone on. Check that the new screen and all the parts you transferred are working. Test the display, touch response, front camera, and earpiece speaker.
- Power down again, put the protective brackets back on, and apply new adhesive strips to the frame before carefully pressing the new screen into place.
To finish, you need to let the adhesive cure. Gently clamp the phone or just place it under a stack of books for a few hours. This ensures a solid, lasting seal. Going through this whole detailed process, you can see why many people decide that having a professional replace a phone screen is the safer, more reliable option.
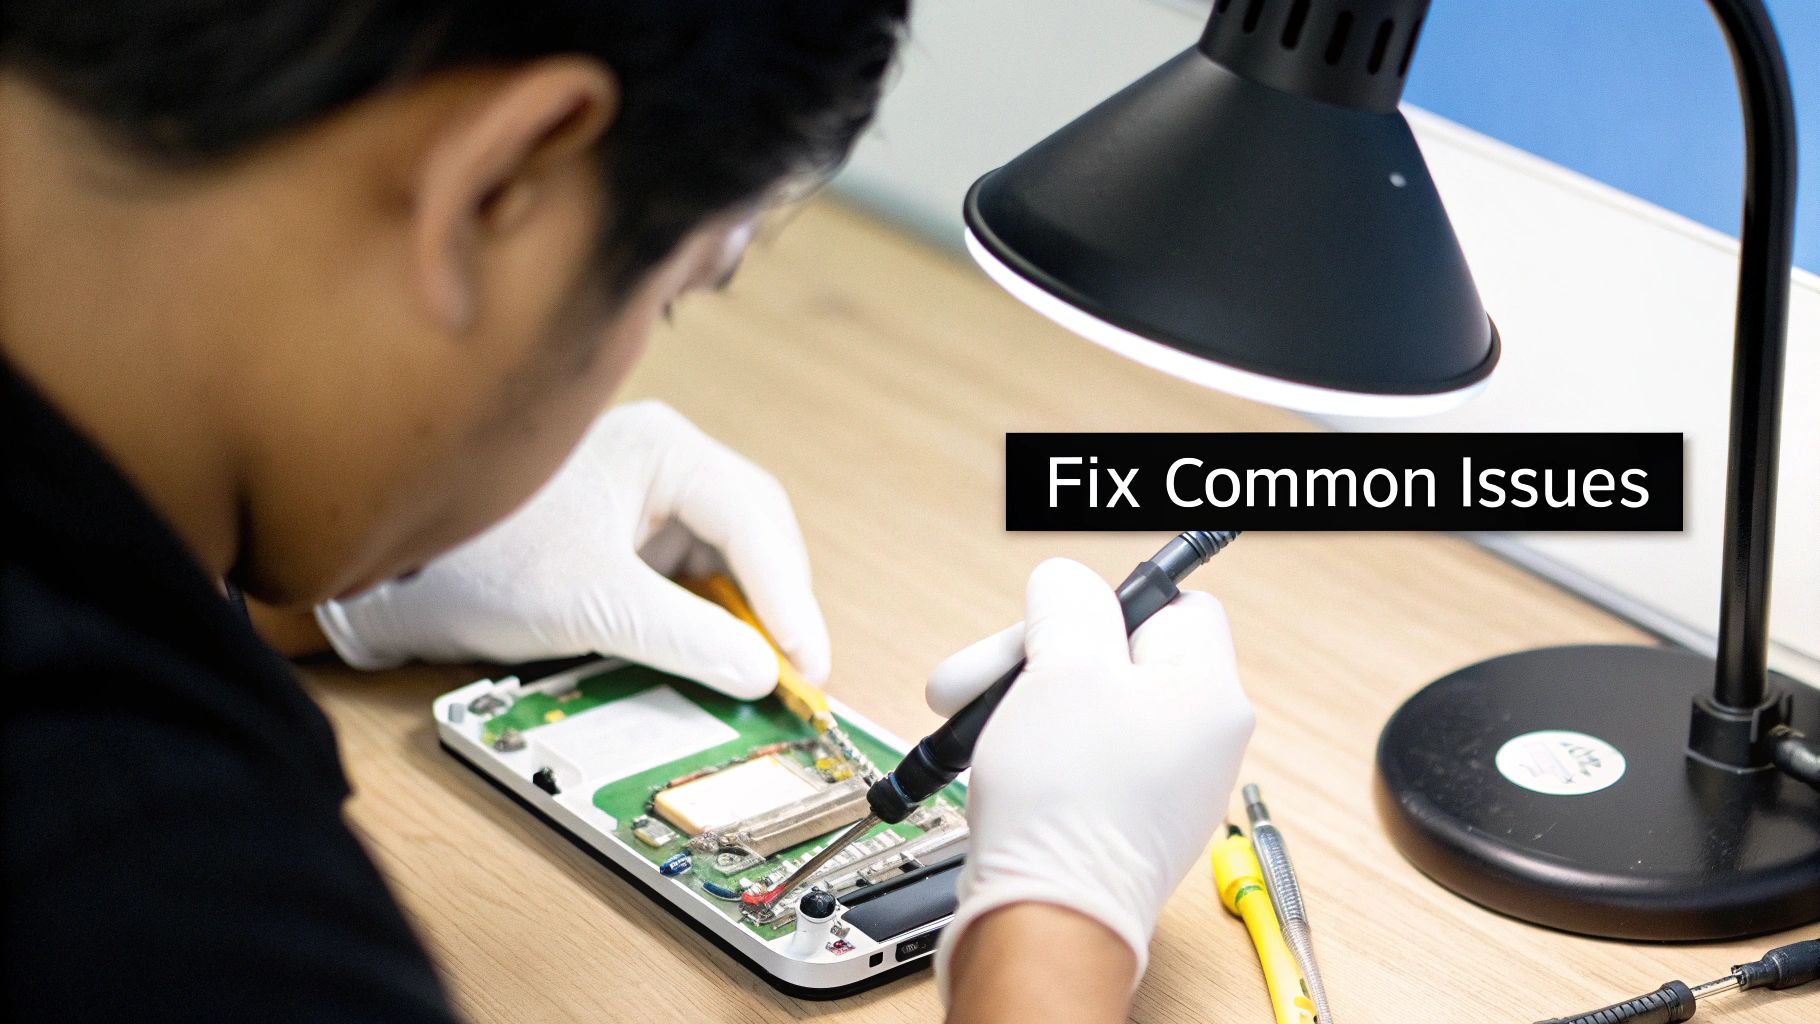
Troubleshooting Common Repair Problems
So, you’ve followed every step, kept your screws in perfect order, and pieced your phone back together. You hit the power button, but your heart sinks. The screen is black, or maybe it’s covered in weird lines, or the touch controls have gone completely haywire. Don’t panic—this happens more often than you'd think on the DIY journey.
Most of these post-repair issues aren't a sign of total disaster. They usually boil down to a few common, and thankfully fixable, mistakes. Before you assume the new part is a dud or that you've bricked your phone for good, it's time to play detective and run through some simple diagnostics. A calm, methodical approach is your best friend right now.
Honestly, the vast majority of problems after a screen replacement trace back to one thing: improperly seated ribbon cables. These fragile connectors need to be perfectly aligned and clicked firmly into place. If one is even a fraction of a millimetre off, it can cause a whole cascade of bizarre symptoms.
The New Screen Is Completely Black
This one is easily the most alarming, but it's often the simplest to fix. Your first thought might be that the new screen was dead on arrival, but that's actually quite rare.
Before you even think about opening the phone up again, try a soft reset. The exact button combination varies between models (it's usually holding the power and volume down buttons together), but this can often kickstart a software glitch that’s preventing the screen from firing up.
If that doesn’t do the trick, it’s time to check those connections.
- Power the phone down completely. Never, ever work on a device while it's live.
- Carefully reopen your phone. You don't need to take the whole thing apart again, just get enough access to see the motherboard connectors.
- Gently disconnect and reconnect every cable that runs to the display. You're listening and feeling for a distinct, satisfying click that tells you it's seated properly.
- Give the connectors a quick once-over. Look for any bent pins or bits of dust. You can clean them very gently with a soft, dry brush if you spot anything.
Nine times out of ten, just re-seating those cables will bring your new screen to life.
A Technician's Insight: Think of a ribbon cable like a lamp plug. If it's halfway out of the socket, the lamp will flicker or won't turn on at all. It's the exact same principle inside your phone, just on a much smaller, more delicate scale. A solid connection is everything.
Glitchy Touch or Strange Lines on the Display
What if the screen turns on but just isn't right? Maybe you’re seeing vertical or horizontal lines, discoloured splotches, or "ghost touches" where the phone acts like you're tapping things you aren't.
This is another classic sign of a bad connection. The data simply isn't flowing correctly from the motherboard to the display panel. Follow the exact same re-seating procedure we just covered, paying close attention to every single flex cable.
Sometimes, though, these glitches can point to a different culprit:
- Trapped Debris: A tiny speck of old adhesive or a stray screw might be caught between the new screen and the frame. This puts uneven pressure on the display panel, causing distortion.
- Pinched Cable: It's easy to accidentally fold or pinch a ribbon cable during reassembly. This can damage the tiny wires inside. Inspect each cable for any sharp creases or visible damage.
- A Genuinely Faulty Part: While less common with reputable suppliers, it's not impossible you received a defective screen. If you've triple-checked every connection and ruled everything else out, it’s time to contact your supplier about a replacement.
Troubleshooting is all about elimination. By systematically checking off the simple installation errors first, you can confidently figure out what's really going on and get your phone working perfectly again.
Why Skip the DIY Headache and Go Pro?
Let's be honest. After seeing what it takes to do a screen replacement yourself—the tiny screws, the delicate cables, the risk of turning a small problem into a big one—it's easy to see why most people hand their phone to an expert. It's not about giving up; it's about choosing a guaranteed result over a stressful gamble. Trusting a professional is simply the fastest, safest way to replace your phone screen.
For most of us, our phone is our lifeline. We can’t afford to be without it for days on end. That’s exactly why we built our service at CTF Mobile Phones & Computer Repairs around speed and reliability. We offer same-day screen replacements that often have you in and out in under an hour.
The Pro Repair Difference
Choosing a professional repair service isn't just about convenience. You're buying expertise and certainty, something a DIY kit from eBay just can't deliver. It’s an investment in getting the job done right, the first time.
- Speed is Everything: Our technicians have done this hundreds of times. We have the muscle memory and the right tools to get your phone fixed quickly and efficiently.
- Quality Parts Matter: We only use high-quality replacement parts that look and perform just like your original screen. No weird colours, no unresponsive touch spots.
- A Rock-Solid Warranty: Every single repair we do is backed by our warranty, covering both the new screen and the work we did to install it. If something isn't perfect, we fix it. Simple as that.
The real value of a professional repair is that all the risk is on us, not you. You bring us a broken phone and leave with a device that works perfectly—guaranteed. No hidden costs, no wasted Saturday afternoons, and zero chance you'll accidentally break something else.
If you're around the Gold Coast or Tweed Heads, getting a fast, expert repair is easy. You can find a trusted phone repair near me and see just how straightforward the process is. Just give us a call for a clear, upfront quote or book your repair online.
Common Questions We Hear About Screen Repair
When your phone screen shatters, it's natural to have a bunch of questions. Over the years, we've heard them all. Here are the honest, straightforward answers to the things people ask us most often, so you can figure out your next move with confidence.
What’s the Real Cost to Replace a Phone Screen in Australia?
The price for a screen replacement in Australia can be all over the map. It really boils down to your phone’s model and, crucially, the type of screen technology it has. An older phone with a standard LCD is a very different job than a new flagship with a premium OLED display.
If you’re brave enough to try it yourself, a DIY kit might cost you between $50 and $200. For a professional repair on a newer device, like a recent iPhone or Samsung Galaxy, you’re more realistically looking at $200 to upwards of $500. The best thing you can do is get a specific quote from a reputable shop before committing.
Will I Void My Warranty if I Fix It Myself?
Almost certainly, yes. The moment you open up your phone to do a self-repair, you can wave goodbye to any manufacturer’s warranty you had left. Authorised service centres can do repairs that keep your warranty intact, but that's not something most independent repair shops can promise.
Our Two Cents: As soon as you take that first screw out, you become fully responsible for anything that goes wrong down the line. It's a massive risk you need to seriously consider against the money you might save doing it yourself.
Do I Really Need to Back Up My Data First?
Yes. One hundred percent. We can't stress this enough: get into the habit of backing up your device before any kind of hardware repair, whether you're doing it at home or bringing it to a pro like us.
A screen replacement shouldn't touch your personal data, but things can go wrong. There’s always a small—but very real—risk of something happening during the repair that could lead to data loss. Taking a few minutes to back up your photos, contacts, and messages is a simple step that can save you from a world of heartache. It’s your digital life; protect it.
Ready to skip the guesswork and get a fast, guaranteed fix? CTF Mobile Phones & Computer Repairs specialises in same-day, expert screen replacements for a huge range of devices. Pop over to our website to get a quick quote and book your repair with trusted local professionals. Find out more at https://www.ctf.com.au.