When your Nintendo Switch won't turn on, your first instinct might be to panic. But more often than not, the fix is surprisingly simple. Try a hard reset: press and hold the power button for a solid 15-20 seconds, then press it once more to restart. This one move often jolts the system out of a software glitch that’s keeping the screen black. If that doesn't do the trick, it’s time to investigate the power source or a seriously drained battery.
Your First Moves When Your Switch Is Unresponsive
We've all been there. You grab your console, ready to play, and… nothing. It’s a gut-wrenching moment for any gamer. Before you jump to conclusions and assume it's a critical hardware failure, take a deep breath and work through the most likely suspects first. In many cases I've seen, the problem isn't the Switch itself, but something in the power supply chain. A dodgy cable, a dead wall socket, or even using the wrong charger can make it seem like your console is dead.
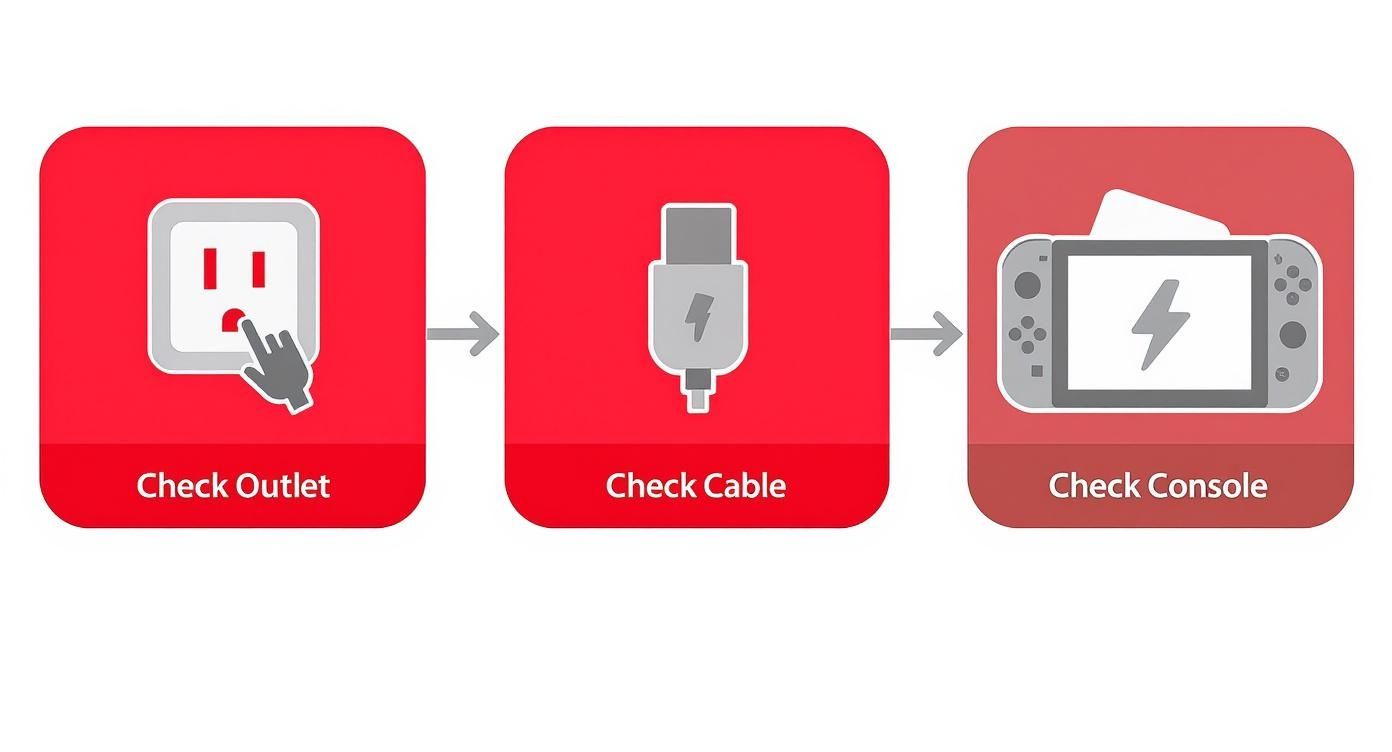
This first phase is all about systematically ruling out the easy stuff. By checking each link in the chain—from the outlet in your wall to the USB-C port on the console—you can quickly find and fix the most common reasons a Switch plays dead.
Verify Your Power Source
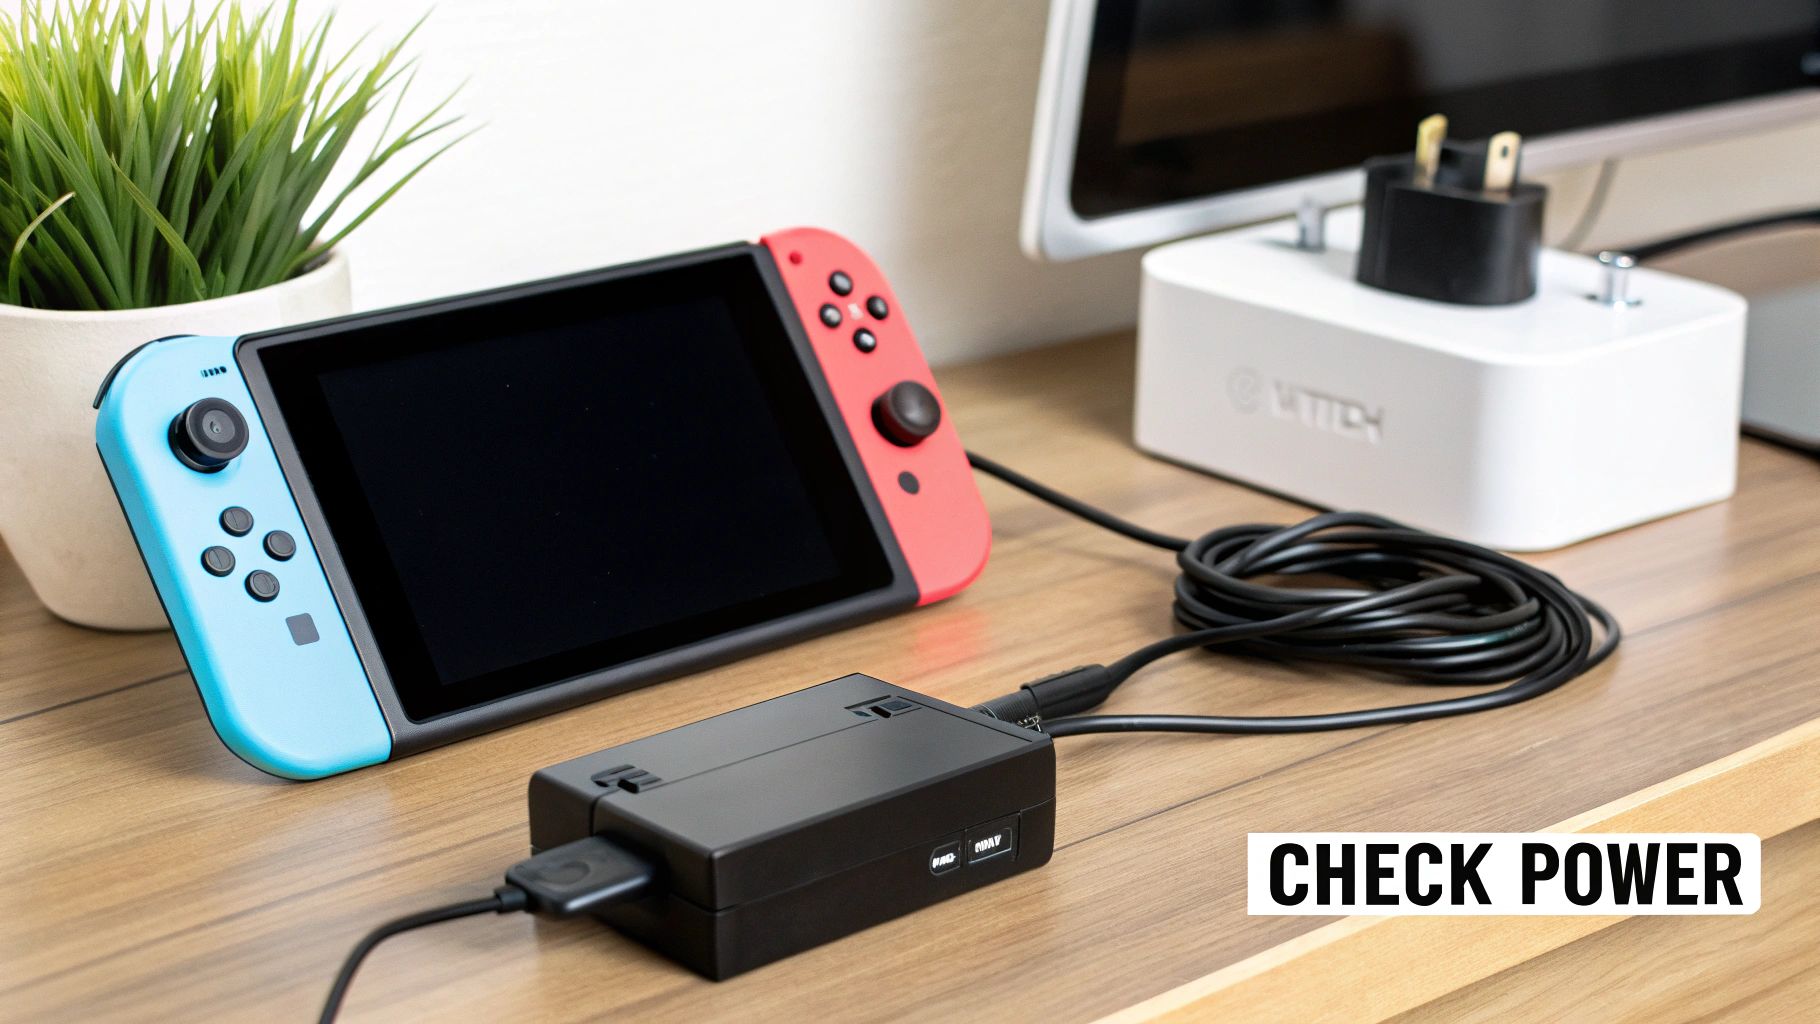
Let's start at the very beginning: the wall socket. Plug something else you know works, like a lamp or your phone charger, into the same outlet. It sounds almost too simple, but you'd be surprised how many people skip this step in a panic. Power boards are another common point of failure, so if you're using one, try plugging the official Nintendo AC adapter directly into the wall instead.
Next, have a good look at the AC adapter and its USB-C cable. Are there any visible signs of damage? Check for frayed wires, bent prongs on the plug, or a wobbly connection where the cable meets the USB-C head. A damaged cable is a very common culprit, as it can stop the console from getting the power it needs to charge. The basic principles of checking for a solid connection are universal; we cover similar ground in our guide on how to fix an iPhone charger port if you want to learn more about diagnosing cable and port problems.
Check the Console and Charging Indicator
Once you're sure the outlet and charger are in good working order, plug the USB-C cable directly into the bottom of the Switch console. It's important to bypass the dock for this test, as the dock itself could be the faulty component.
You’re looking for a battery icon to pop up on the screen, even just for a moment. If the screen stays completely black, don't give up yet. A battery that has been completely drained can take a few minutes of charging before it shows any signs of life.
Initial Power Check Diagnostic
To help you keep track, this quick table breaks down the process. It's a simple way to methodically rule out common power issues before you start digging into more complex troubleshooting.
| Area to Check | What to Look For | Action if Problem Is Found |
|---|---|---|
| Wall Outlet | Is it supplying power? | Test with another device (e.g., a lamp). If no power, check your circuit breaker. |
| AC Adapter | Frayed wires, bent prongs, visible damage. | If damaged, replace it with an official Nintendo adapter. Do not use a third-party one. |
| USB-C Cable | Loose connection, damage to the head. | Try a different known-working USB-C cable if available, or replace the adapter. |
| Console Port | Debris, dust, or bent pins inside the USB-C port. | Gently clean with compressed air. If pins are bent, it needs professional repair. |
By following these steps, you can be confident you’ve covered all the external power bases.
Key Takeaway: If you see the charging indicator, great! Your Switch is getting power. The best thing to do now is leave it alone. Let it charge directly from the wall for at least 30-60 minutes before you try turning it on again.
This "no power" issue is more common than you might think. Based on repair data from Australian services between 2018 and 2023, a significant 15-20% of all Nintendo Switch repair jobs were for consoles that simply wouldn't turn on. It's a frustrating but often fixable problem. If these initial checks haven't worked, the next step is to try and force a system reset.
How to Force a Restart and Bring Your Console Back to Life
So, you’ve checked the charger and you know the power point is working, but the Switch is still playing dead. Don't panic just yet. More often than not, a Switch that refuses to turn on isn't suffering from a critical hardware failure. The real culprit is usually a simple software glitch that’s crashed the system, leaving it frozen in an "off" state.
This is where a hard reset (or forced restart) comes in. It’s the go-to trick we use in the workshop all the time. Think of it like the classic "turn it off and on again" for your console—it forces the software to shut down completely and start fresh, clearing out whatever bug was causing the problem.
Trying the Standard Hard Reset
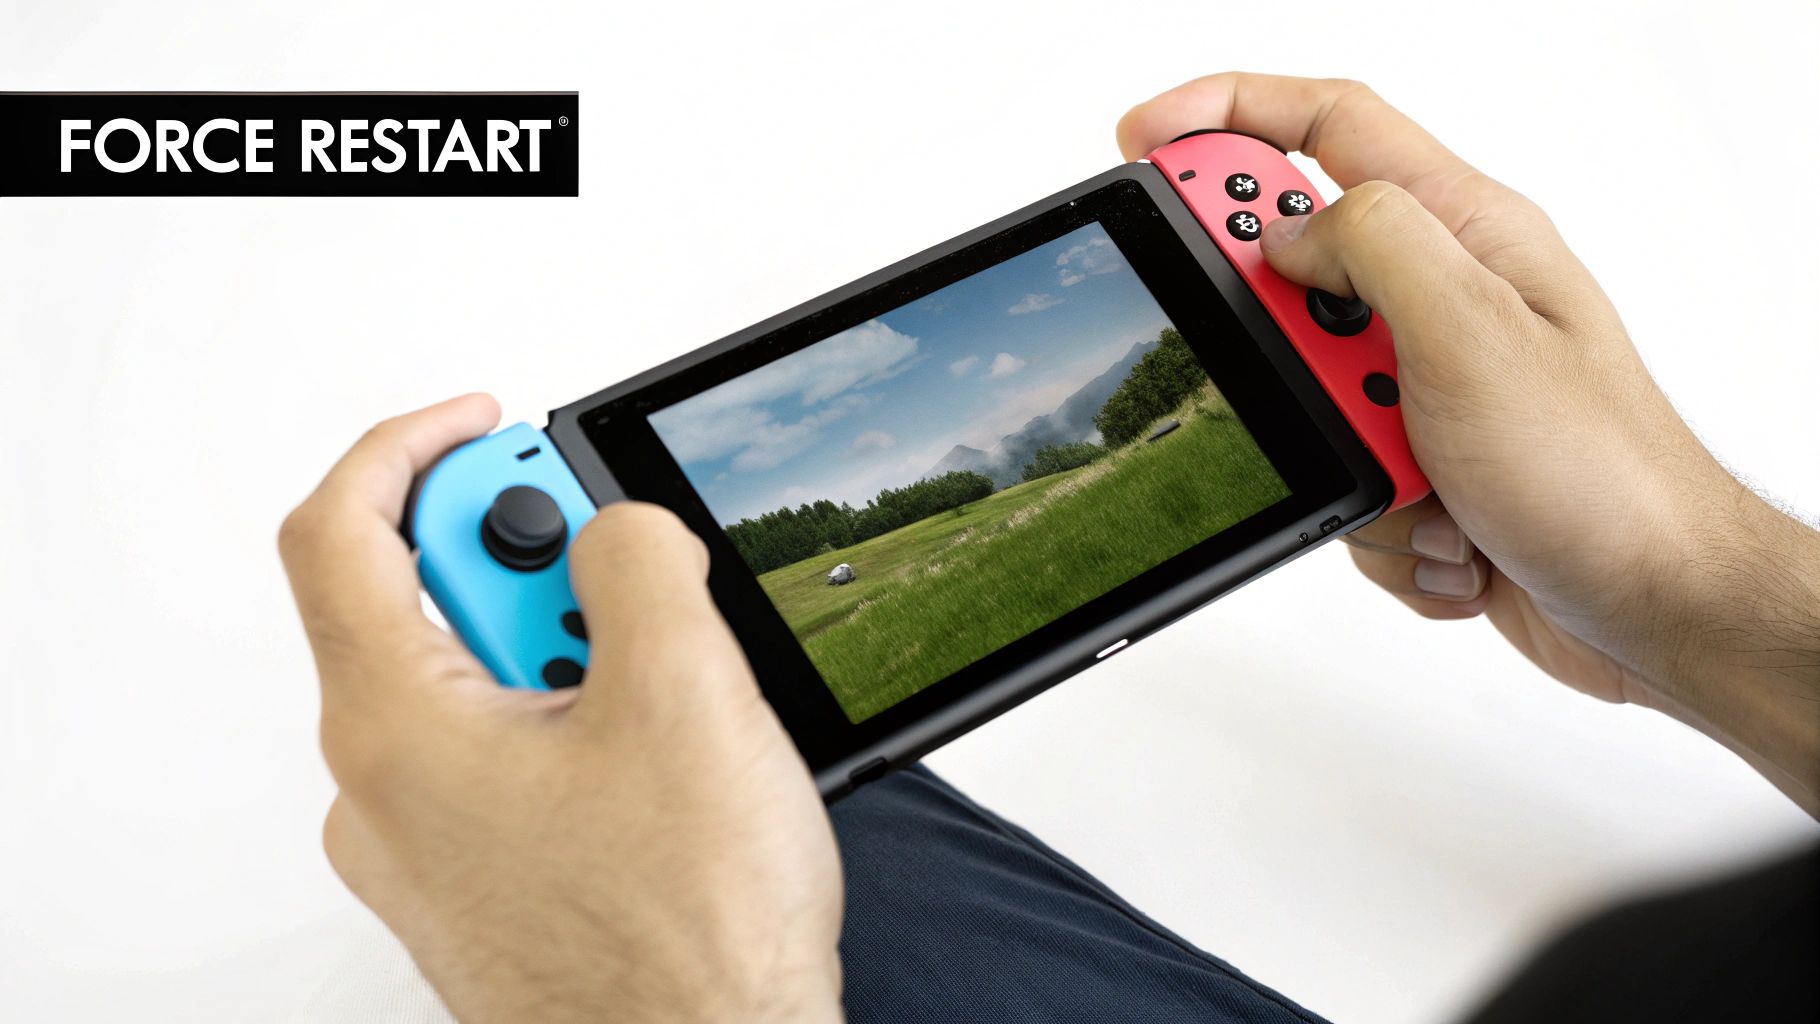
The process is dead simple. Find the small, round power button on the top-left edge of the Switch console.
Now, press and hold that power button down for a solid 15 to 20 seconds. You have to be patient here; the screen will stay black, but keep holding it for the full duration. This long press is what triggers the internal reset.
Once the time is up, let go of the button. Give it a second, then press the power button again normally. If it worked, you’ll be greeted by the Nintendo logo. Honestly, for the vast majority of cases we see, this simple action is all it takes to fix the issue.
The Full Power Cycle: A More Thorough Approach
If the first method didn't do the trick, there's a slightly more intensive version you can try. This technique involves disconnecting everything to ensure the system gets a complete and total refresh. It's a great next step before you start worrying about hardware.
Here’s what you do:
- Unplug it all. Disconnect the AC adapter from the wall and from the Switch itself.
- Detach the Joy-Cons. Slide both controllers off the sides of the console.
- Hold the power button. With everything disconnected, press and hold the power button again for 15-20 seconds.
- Wait, then reconnect. After you release the button, wait about 30 seconds. Then, plug the official Nintendo charger directly back into the console and let it sit for at least 15-20 minutes before trying to turn it on again.
This approach removes any potential interference from the Joy-Cons or the dock, giving the console a completely clean slate to reboot from. It’s a simple escalation that often shakes loose those more stubborn software freezes.
Looking for Clues: Identifying Common Hardware Failures
So, the forced restart didn't bring your Switch back from the brink. Don't panic. This usually means we're moving past simple software glitches and into the realm of hardware. When a Switch plays dead like this, it’s often a physical component that's given up, not the entire console. It's time to put on our detective hats and look for the physical clues.
You don't need a technician's toolkit to do some initial checks. Most hardware problems leave behind little tell-tale signs. A careful look at your console can often point you straight to the culprit, helping you decide if this is something simple you can handle or a job best left for a professional.
Signs of a Failing Battery
After years of loyal service, the battery is almost always the first component to show its age. It’s a simple fact of life for any rechargeable device—the Switch’s lithium-ion battery just can't hold a charge like it used to after hundreds of cycles. Eventually, it just won't have enough juice to even start the system.
Here are the classic symptoms of a worn-out battery:
- It only works on the charger. The console fires up and runs perfectly fine when it's plugged in, but the second you disconnect it, it dies instantly. This is a dead giveaway.
- The battery life is a joke. You might see it report a full 100% charge, but then it plummets to zero after just a few minutes of gameplay.
- The console case is bulging. In more extreme cases, a failing battery can actually swell up. If you see the back of your Switch bulging or the plastic separating at the seams, you need to stop using it immediately.
A worn-out battery is a common reason your Switch won’t turn on, but it’s crucial to be mindful of the risks of catastrophic lithium-ion battery failure if you ever see signs of severe damage or swelling.
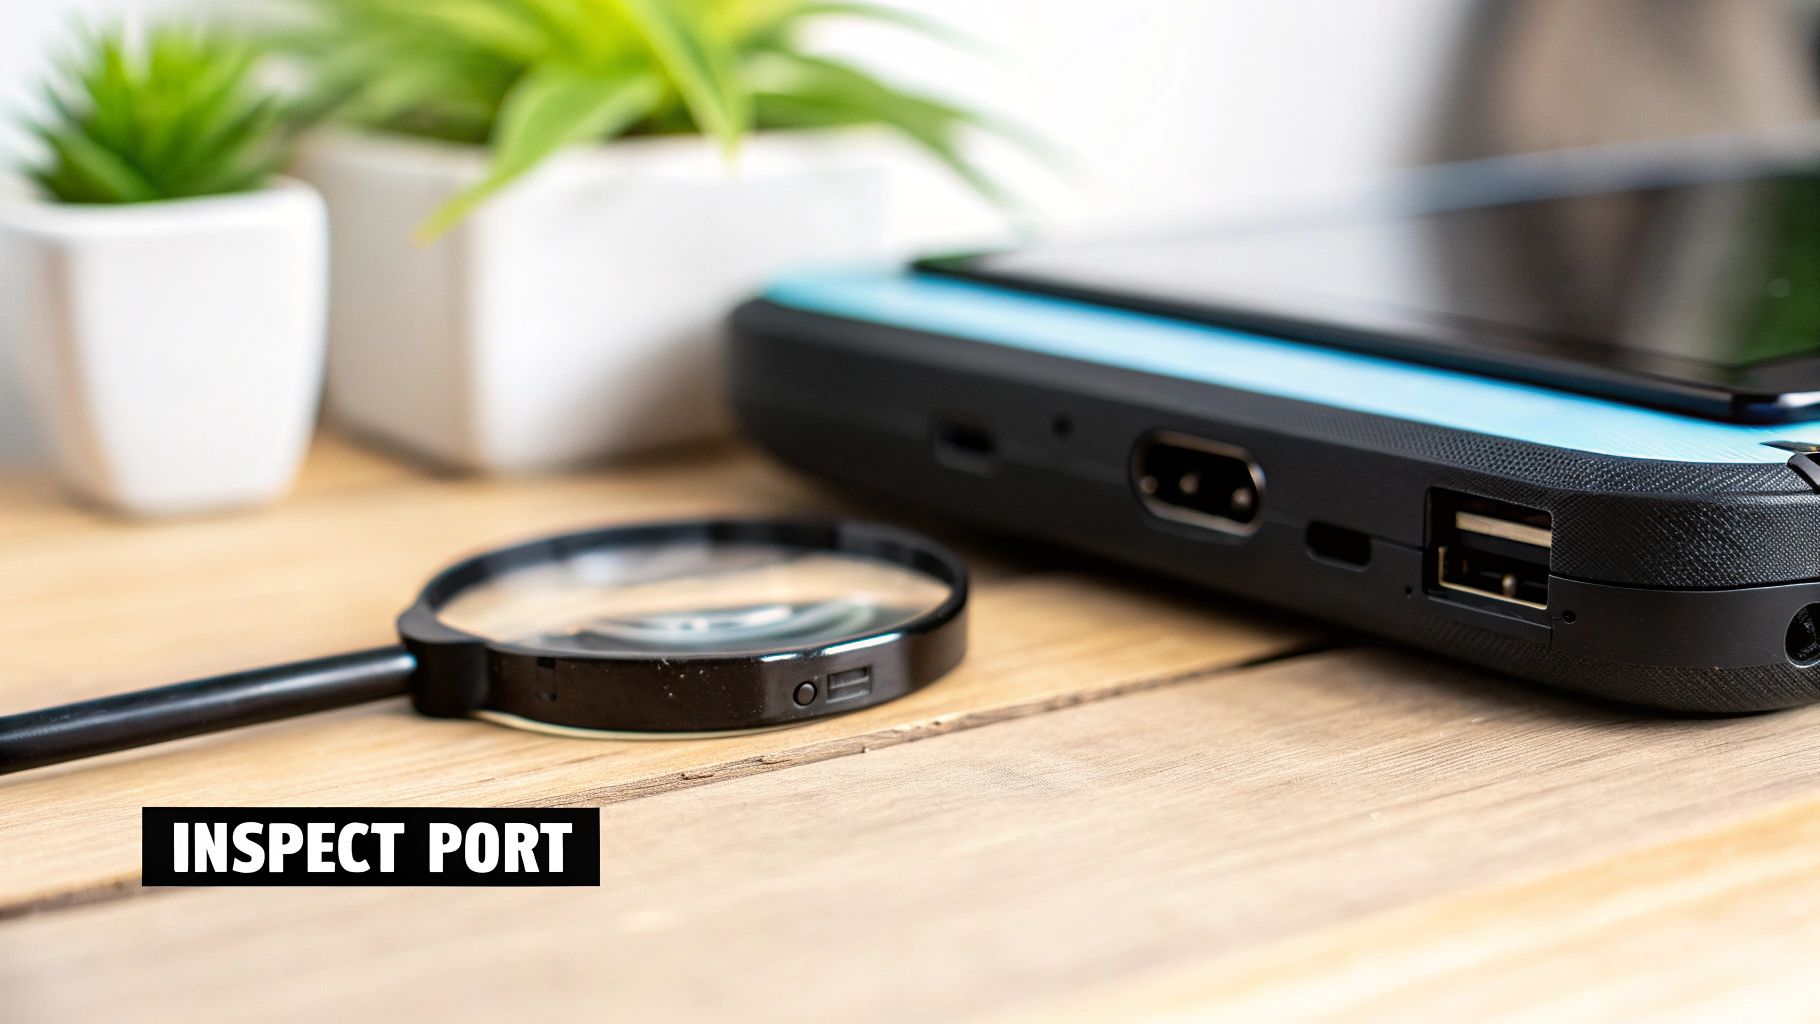
Checking the USB-C Charging Port
The charging port is the lifeline for your Switch, but all that plugging and unplugging takes a toll. A damaged port means no power gets to the battery, and a dead battery means a dead console.
Grab a torch and take a really close look inside the USB-C port at the bottom of the device. You're looking for anything that shouldn't be there—bent or broken contact pins, compacted pocket lint, dust, or even crumbs. A tiny bit of debris is all it takes to block a solid connection.
If you spot something, you can try to gently dislodge it with a non-metallic tool like a wooden toothpick. A quick puff of compressed air can also work wonders. Just be incredibly careful not to bend the delicate pins inside. If you see any signs of bent metal, that port is toast and will need a professional replacement.
Pro Tip: Whatever you do, never stick a metal paperclip, pin, or needle into the charging port to clean it. You’re practically guaranteed to short-circuit the components inside, turning a simple port problem into a much more expensive motherboard repair.
Spotting Potential Liquid Damage
Accidents happen. A spilled drink, a splash from the sink—it doesn't take much to cause serious electronic damage, and the evidence isn't always obvious.
Look carefully around the console’s air vents, seams, and especially inside the USB-C port and game card slot. You're searching for a chalky white or greenish residue. That’s corrosion, the calling card of liquid damage. Unfortunately, this is one of the toughest repairs out there because the liquid can short out countless tiny components on the main logic board.
And you're not alone in this frustration. A 2023 survey found that 18% of Switch owners in Australia had dealt with their console refusing to turn on. The primary culprits? Battery degradation led the pack at 45%, followed by power supply issues (30%) and other internal hardware faults (25%).
DIY or Professional Repair? Making the Right Call
So, you've done a bit of troubleshooting and now you have a clearer picture of what might be plaguing your Nintendo Switch. This brings you to a fork in the road: should you break out the tools and tackle this yourself, or is it time to call in the experts? The answer really boils down to the complexity of the issue, your comfort level with electronics, and how much you're willing to risk.
Choosing wisely here can be the difference between getting back to your game and accidentally turning a fixable problem into an expensive paperweight.
When a DIY Repair Is a Good Idea
Going the do-it-yourself route can be really satisfying and save you a few dollars, but it’s best reserved for the more straightforward problems. If your investigation points to a simple part swap, then rolling up your sleeves might be a great option.
You could consider tackling these repairs yourself:
- Battery Replacement: If your Switch has seen a few good years and the battery life is shot, replacing it is one of the more accessible DIY jobs. A good online guide, the right screwdrivers, and a bit of patience are all you really need.
- Joy-Con Joystick Replacement: This isn't a power issue, but it's probably the most common DIY Switch repair out there. Fixing that frustrating "Joy-Con drift" by swapping the joystick module is often how people get their start in console repair.
For jobs like these, you’ll need a specific toolkit—usually a tri-wing screwdriver, a small Phillips head, and some plastic prying tools to avoid scratching the case. High-quality parts and toolkits are readily available online. The trick is to follow a detailed video tutorial religiously and work in a clean, well-lit space. Don't rush it!
When to Step Away and Call a Pro
Some repairs, however, are squarely in the "don't try this at home" territory. Diving into a complex job without the right training or equipment is a surefire way to make things worse. One tiny slip can kill your console for good.
You should always seek professional help for issues involving the motherboard. This includes problems requiring micro-soldering, such as replacing a damaged USB-C port or a faulty power management chip (like the M92T36). These repairs demand specialised tools and years of experience.
The risks of a botched DIY attempt are huge. You could easily rip a delicate ribbon cable, short out the motherboard, or crack the screen. Plus, you’ll definitely void any warranty you might have left.
Think of it like this: the skill involved in micro-soldering is a world away from just unplugging a battery and plugging a new one in. It’s similar to how replacing a phone screen requires precision to avoid damaging the delicate sensors underneath. You can get a sense of the expertise involved by reading up on how to replace a phone screen, as many of the same principles of careful, expert handling apply.
If you have even the slightest doubt about your ability to pull off a repair without causing more damage, trust me—it’s always smarter and often cheaper in the long run to hand it over to an expert.
What to Expect from Professional Repair in Australia
So, you’ve tried all the DIY fixes and your Switch is still a very expensive paperweight. It’s time to call in the professionals. Deciding where to take your unresponsive console in Australia can feel a bit overwhelming, but you really have two main choices: send it back to Nintendo or find a good independent repair shop.
Each path has its own perks and pitfalls when it comes to cost, how long you'll be without your console, and the service you'll get. Honestly, the best choice really boils down to what matters most to you – a lightning-fast turnaround or keeping an official service record.
Official Nintendo Repairs vs. Independent Shops
Heading straight to Nintendo Australia is most people's first instinct. Going official means you're guaranteed genuine parts, and the techs are obviously experts on Nintendo hardware. If your Switch is still under warranty, this is a no-brainer. Don't even think about it – just send it to them, as the repair should be free.
For consoles out of warranty, though, the picture changes a bit. Looking at consumer feedback, the "won't turn on" issue is a pretty common headache for Aussie Switch owners. Out-of-warranty repairs through Nintendo will typically set you back anywhere from $80 to $150 AUD, depending on what’s wrong. Some gamers have shared their frustrations about long waits for repairs and parts shortages, which can really drag out the process.
This is where independent repair shops really shine. They often win on speed and price. A local technician can usually figure out the problem the same day you drop it off and give you a more personal rundown of what's going on.
A Pro Tip From Experience: While Nintendo guarantees original parts, a good independent shop can often get a simple battery swap or charging port fix done faster and for less money. They're especially handy for older consoles that Nintendo might not even support anymore.
The Typical Repair Process and Costs
No matter where you take your Switch, the first step is always diagnosis. A good technician will run a series of tests to find the root cause of the power failure. Is it a tired old battery? A busted charging port? Or is it something trickier on the motherboard, like a faulty M92T36 power chip? This diagnostic check is often free or comes with a small fee that's usually scrapped if you go ahead with the repair.
After they’ve found the culprit, you’ll get a solid quote. To give you a ballpark idea of what you might pay in Australia for common power-related faults, here's a rough guide:
- Battery Replacement: You're usually looking at $80 to $120.
- Charging Port Replacement: This is a more fiddly job, so expect to pay between $100 and $160.
- Motherboard Micro-Soldering: For complex chip repairs, prices generally start around $150 and can climb from there.
Any decent shop will offer a warranty on their work, usually for three to six months, so you can walk away with some peace of mind. If you’re searching for a reliable local expert, finding a trustworthy console repair service near you is the best way to get an accurate quote and specialist advice.
Digging Deeper: Your Top Nintendo Switch Power Questions Answered
Even after running through the basics, you might still be scratching your head about why your Switch is playing dead. That's completely normal. Let's get into some of the specific, nitty-gritty questions we hear all the time from gamers. Understanding these details can be the key to figuring out what’s really going on with your console.
Sometimes you'll see a glimmer of hope—like a charging symbol—but the console just won't follow through and boot up. This is probably the most confusing scenario, and it often leads people to think their Switch is a goner when it might just need a bit more TLC.
Can I Use a Third-Party Charger for My Switch?
Ah, the classic question, usually asked when the official charger has gone missing in action. It's so tempting to just grab any old USB-C cable lying around, but this is a massive gamble with a Nintendo Switch.
The console is surprisingly picky. It needs a specific Power Delivery protocol to charge properly, and most generic chargers and power banks just don't speak its language.
Using the wrong charger can cause a few headaches:
- It might not charge the battery at all.
- The charge could be so slow that the console uses power faster than it gains it.
- Worst-case scenario? You could fry the delicate internal power circuits.
When you're trying to fix a power issue, always use the official Nintendo AC adapter. It’s the only way to be 100% sure the charger isn't the problem. Of course, knowing about good power solutions is handy for all your gear, not just your console. If you're looking for general info, some find guides on reliable portable chargers for travel helpful for their other electronics.
My Switch Shows a Charging Icon but Still Wont Turn On. What Gives?
We see this one constantly. The good news is, it usually points to a simple, if frustrating, problem: the battery is so profoundly dead that it can't even muster the energy to boot up. The console knows power is coming in—that's why you see the icon—but the battery is below the critical threshold needed to fire up the operating system.
The fix for this is pure, unadulterated patience. Plug the console directly into a wall socket with its official adapter (not into the dock). Then, walk away. Leave it completely alone for at least a few hours, or even overnight. It needs a long, steady, uninterrupted charge to recover from that deep discharge.
If it still won’t power on after an all-night charging session, you might be looking at a battery that has degraded to the point where it can no longer hold a meaningful charge.
How Long Does a Nintendo Switch Battery Typically Last?
Just like the one in your phone, the Switch’s lithium-ion battery wears out over time. There's no set expiration date, but you can generally expect its performance to drop off after about 800 charge cycles.
For the average gamer, that works out to be around two to three years of solid use. If your console is getting on in years and has clocked up thousands of hours in Hyrule or on the race track, a worn-out battery is a very likely suspect for its power problems.
If you've tried all the tricks and your console is still refusing to cooperate, don't throw in the towel. The expert technicians at CTF Mobile Phones & Computer Repairs live for this stuff. We specialise in figuring out and fixing even the most stubborn power issues on Nintendo Switch consoles. Bring your device to our Perth workshop for a professional assessment and a fast, reliable repair.