
When your console suddenly dies, the natural reaction is to panic. You immediately start thinking about expensive repairs or, even worse, having to replace the whole thing. But hold on a second. More often than not, the fix is surprisingly simple.
Before you even think about calling in a professional to fix your game console, there are a few basic checks you can run through. These quick diagnostics often solve the most common glitches, saving you a whole lot of stress and money.
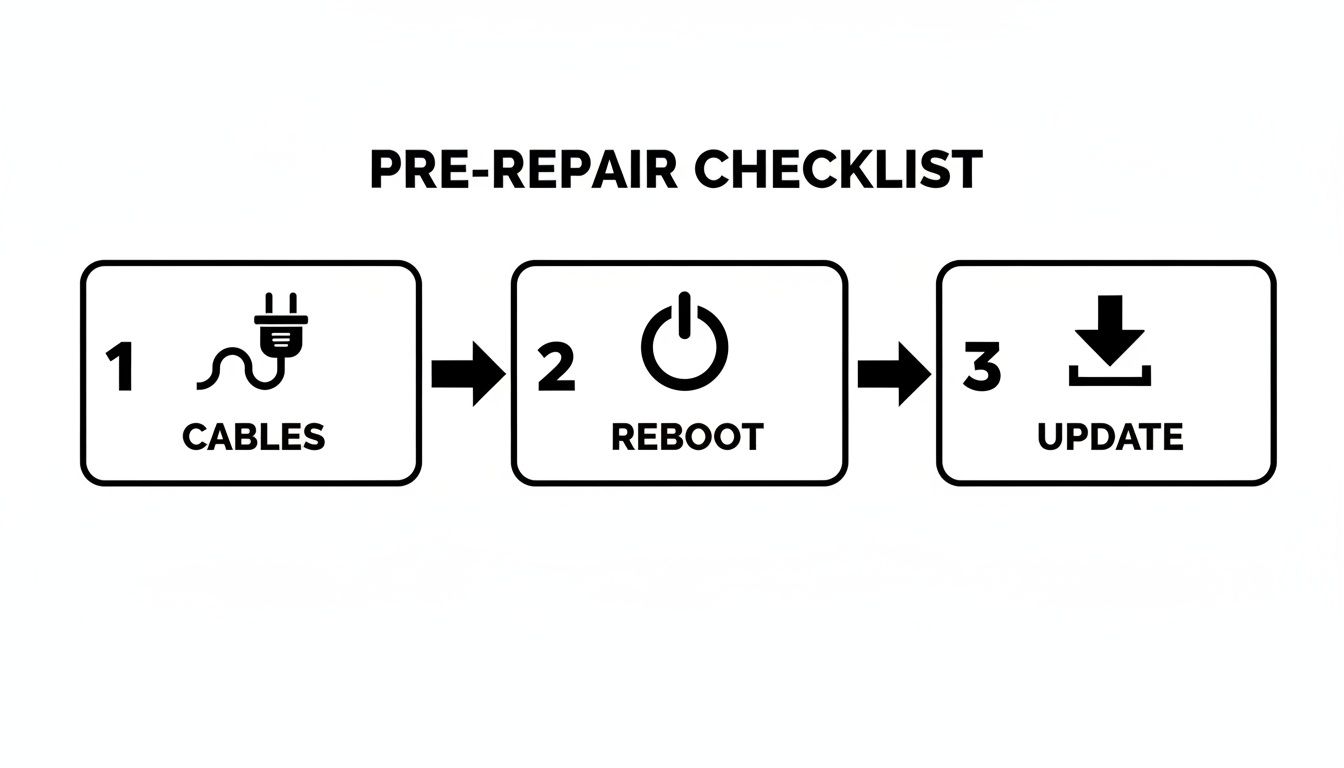
Your Pre-Repair Checklist for Common Console Glitches
We’ve all been there—that sinking feeling when you hit the power button and get nothing. Or maybe it turns on, but your TV screen stays stubbornly blank. It’s frustrating, but it’s rarely a sign of a catastrophic hardware failure.
This checklist is your first line of defence. It’s built from years of seeing the same simple, easy-to-miss problems masquerading as something much more serious. Let's walk through it.
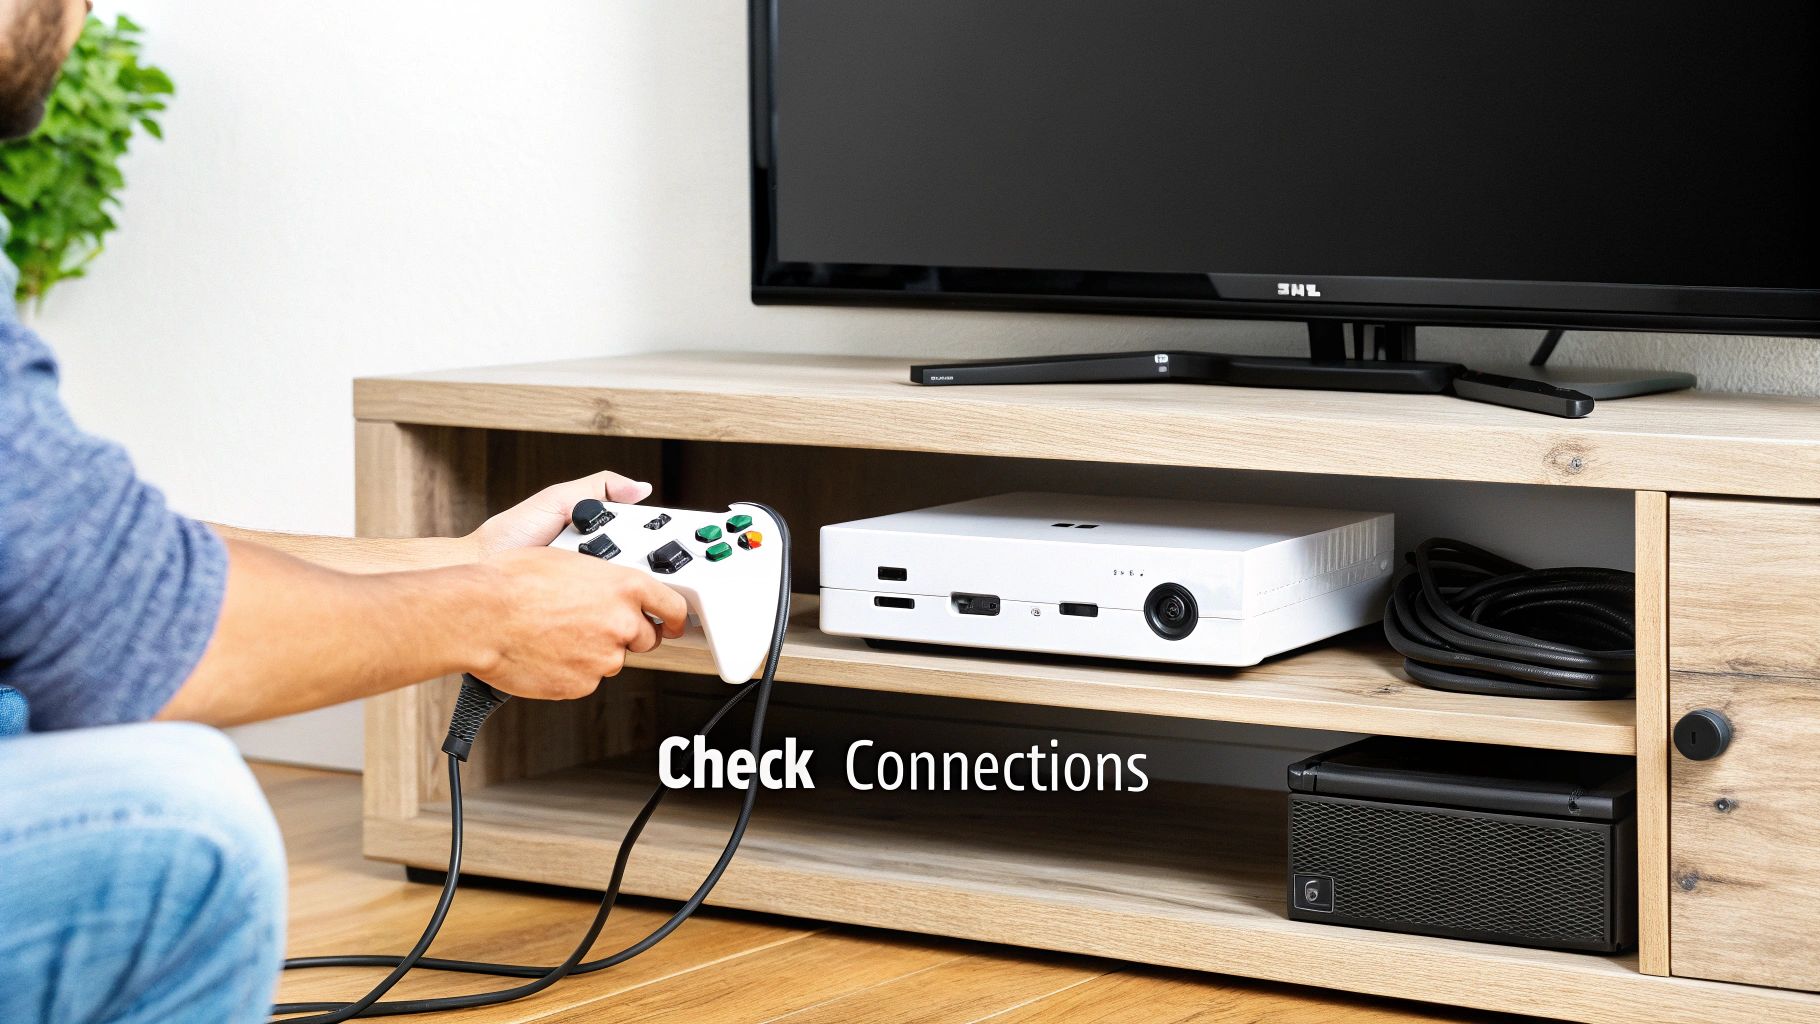
Start With the Obvious Connections
It sounds almost too basic, but you’d be amazed how often the problem is just a loose cable. Entertainment centres are a notorious mess of tangled wires, and it’s easy for one to get nudged out of place.
First, check the power cord. Is it pushed firmly into the back of the console? Is it securely plugged into the wall socket or power board? As a pro tip, try plugging the console directly into the wall. A faulty power board can be the real culprit.
Next up, the HDMI cable. Give it a wiggle at both ends—the one in your console and the one in your TV. Make sure they’re snug. While you're at it, double-check that your TV is set to the correct input source. It's a classic mistake to have it on HDMI 2 when your console is plugged into HDMI 1.
The Power of a Full Reboot
Modern consoles love their low-power "rest modes," but these states don't always clear out temporary software bugs that cause freezing or weird performance issues. That's where a full power cycle, or a hard reboot, comes in. This forces the entire system to shut down completely, clearing its memory and giving it a fresh start.
Here’s how you do it properly:
- Fully power down the console. Don't just put it in rest mode. Hold the power button for about 10 seconds until you hear it shut off completely.
- Unplug the power cord from the back of the console itself.
- Wait at least 60 seconds. This is the crucial part. It gives the internal components time to fully discharge any residual power.
- Plug it all back in and fire it up as you normally would.
You'd be shocked at how many "broken" consoles I've seen spring back to life after this simple procedure.
Before diving into anything more technical, running through a quick mental checklist can save you a world of hassle. This table covers the most frequent issues we see.
Initial Troubleshooting Checklist
| Symptom | Quick Check | Potential Solution |
|---|---|---|
| No Power | Power cord & wall socket | Ensure the cord is secure at both ends; try a different wall outlet. |
| No Video/Picture | HDMI cable & TV input | Check HDMI connections; cycle through your TV's input sources (HDMI 1, 2, etc.). |
| Freezing/Crashing | System state | Perform a full power cycle (unplug for 60 seconds). |
| Connectivity Issues | Network status & updates | Check for pending system software updates; reboot your modem/router. |
These simple steps resolve a surprisingly high number of issues without ever needing to pick up a screwdriver.
Don't Forget System Updates
Finally, if your console is online, it’s worth checking for any pending system software updates. Manufacturers are constantly pushing out patches to fix bugs, improve stability, and patch security holes. An outdated system can easily cause problems, from preventing new games from launching to creating weird network errors.
With more Aussies gaming than ever, keeping these machines running smoothly is key. The Australian gaming console market hit a whopping USD 840.0 million this year and it's still growing. You can explore more data on the Australian gaming market to see just how big the scene has become.
So, the basic checks didn't get you back in the game. It's time to dig a little deeper into the most common hardware and software gremlins that can knock a console out of commission. The good news is that many problems that seem like a total write-off are actually fixable with a bit of patience and know-how. This is where you can start to fix game consoles for real, without immediately reaching for your wallet.
Whether your PlayStation is playing dead or your Xbox sounds like it's preparing for takeoff, we've seen it all. The trick is to work through the possibilities logically, starting with the simplest (and safest) solutions first.
Diagnosing a No-Power Situation
A completely dead console—no lights, no sounds, nothing—almost always points to a problem with its power delivery. Once you're absolutely sure the wall outlet and any power boards are working, your attention should turn to the console's power supply unit (PSU).
Different consoles approach this differently. Older models like the Xbox 360 and the original Xbox One, for example, used an external "power brick." This is a huge advantage for troubleshooting because you can inspect it as a separate part. Take a look at the light on the brick itself. A solid orange or white light is usually a good sign, meaning it's getting power. If you see no light or a blinking one, you've likely found your culprit—a faulty brick.
Newer consoles like the PlayStation 5 and Xbox Series X/S have an internal PSU, which gives them a much sleeker look but makes DIY fixes trickier. If you suspect an internal PSU has failed, the repair is a lot more involved and is usually best left to a professional. Before you assume the worst, though, try a different, compatible power cord. It’s a cheap and easy test to rule out a simple cable failure.
Pro Tip: Don't write off the power cord itself. After years of being bent, squashed, or pinched behind a TV unit, the internal wires can easily fray. A new cord costs next to nothing and could save you a massive headache.
Tackling Disc Read and Tray Errors
Is your console spitting out brand-new discs or making a horrible grinding noise when you try to load a game? That's a classic symptom of a failing optical drive. The laser that reads the data from Blu-ray discs doesn't last forever; it can weaken or fail over time, especially with heavy use.
Before you declare the drive dead, let's try some simple first aid.
- Use a Laser Lens Cleaner: You can find these online or at electronics stores. They’re basically a disc with tiny, soft brushes that gently dust off the laser lens. It's a non-invasive first step that often fixes read errors caused by a bit of grime.
- Check Your Game Discs: Give your discs a good look. Are there fingerprints, smudges, or scratches? Clean them with a soft, microfibre cloth, always wiping from the centre outwards—never in circles.
- Test a Variety of Discs: Don't just rely on one game. Try a few different ones, and maybe even a Blu-ray movie. If it reads some discs but not others, the problem might be with the discs themselves. If it refuses to read anything you put in, the laser is the prime suspect.
If none of that helps, a laser replacement is probably what's needed. It's a technical repair, for sure, but it’s a routine job for an experienced technician.
The Overheating Console and How to Cool It Down
If your console is constantly crashing mid-session, showing weird graphical glitches, or its fan is screaming at full blast, it's almost certainly overheating. Modern consoles, particularly powerhouses like the PS4 Pro and Xbox One X, generate a serious amount of heat. Their cooling systems are designed to pull cool air in and push hot air out to protect the sensitive components inside.
Over the years, that same system pulls in dust, pet hair, and all sorts of other gunk that clogs up the heatsinks and vents. Think of it like putting a blanket over the console—it traps the heat inside, forcing the fan to work harder and harder until the system just gives up and shuts down to prevent permanent damage.
Regular cleaning is the answer. A can of compressed air is your best friend here; you can carefully blow the dust out of all the vents. For a really deep clean, you might need to take the outer casing off to get direct access to the fan and heatsinks. Just be warned, this can void the warranty on newer consoles. And always, always make sure the machine is completely powered off and unplugged before you open it up. A little bit of maintenance can make a massive difference to performance and longevity.
For those of you working with older hardware, understanding specific components is vital. For example, our guide to the Xbox 360 S power supply dives into how those external units work and what to look for when they fail. This kind of knowledge helps you tackle problems with confidence, even on vintage gear.
Right, let's get into one of the most maddening parts of modern gaming: when your gear just won't connect. A top-tier console means nothing if your controller keeps dropping out in the middle of a boss fight, or your Wi-Fi dies just as you’re about to clinch a win.
These kinds of peripheral and network glitches are incredibly common, but the good news is they're often something you can fix yourself without needing to send your console away. More often than not, it's a simple communication breakdown, not a catastrophic hardware failure. Before you panic, let's walk through what's likely going on and how to get everything playing nice again.
Why Your Controller Won't Connect
When a wireless controller decides to go rogue and ignore your console, the issue usually boils down to one of three things: signal interference, a software hiccup, or a basic pairing problem. Our homes are absolutely swimming in wireless signals, and sometimes they just get in each other's way.
Most controllers use Bluetooth, which operates on the crowded 2.4 GHz frequency. Think of it like a busy radio station where too many people are trying to talk at once.
- Physical Barriers: It sounds simple, but big, dense objects between you and your console can seriously disrupt the signal. Think furniture, thick walls, or even a big metal entertainment unit.
- Signal Competition: Your Wi-Fi router is a major culprit, but so are wireless speakers, smart home devices, and even your microwave when it's running. They're all shouting in the same frequency range.
- Firmware Confusion: Sometimes, the controller's own internal software (the firmware) gets a bit scrambled and needs a reboot to clear its head and reconnect properly.
A great first step is just to reduce the potential for interference. Try moving your console a bit further away from your router or other wireless gadgets. You'd be amazed how often just giving it a clearer line of sight to your controller can fix game consoles instantly.
Resetting and Re-Pairing for a Solid Link
If a quick shuffle of your setup doesn't solve it, the next port of call is a full reset and re-pair. This essentially forces the console and controller to forget each other and start their relationship from scratch, which clears out a lot of persistent syncing issues.
The exact steps change a little depending on your console, but the idea is the same. On a PlayStation controller, look for a tiny recessed button on the back (usually near the L2 shoulder button). You'll need something small like a paperclip to press and hold it for about five seconds.
With an Xbox controller, you'll press and hold the Pair button on the console and then on the controller until the lights start flashing. They’re now officially searching for one another.
Here's a pro tip that gets missed all the time: after you reset the controller, plug it directly into the console with a good quality USB cable. This creates a physical handshake that helps them re-establish their wireless connection much more reliably, especially if you've just done a firmware update.
Taming Unreliable Wi-Fi
Is there anything more infuriating than lag spikes or getting booted from a match because of a dodgy Wi-Fi connection? If your console's internet is flaky, the issue is almost certainly with your home network, not the console itself.
First, consider the basics: distance and obstacles. The further your console is from your router, and the more walls the signal has to punch through, the weaker and less stable it's going to be. If you can't move the router or the console closer together, look into a Wi-Fi extender or a powerline adapter. These can create a much stronger connection point right where you need it.
Another smart move is to manually change your router's Wi-Fi channel. By default, most routers use the same channel, and if your neighbours' networks are on it too, it gets congested. Log into your router's admin settings and try switching to a less crowded channel—1, 6, or 11 are usually the best bets. This one simple change can make a massive difference to your gaming performance.
When To Stop DIY and Call a Professional
There's a real satisfaction in fixing your own gear. Tackling a DIY repair on your gaming console can be a great way to save some cash and get to know the tech you use every day. But let's be honest, one of the most important skills in any project like this is knowing when to put the tools down.
Pushing past your limits without the right experience or equipment can turn a simple fix into a very expensive paperweight. It’s not about admitting defeat; it’s about being smart and recognising when a problem needs a seasoned technician's touch.

Red Flags That Signal a Professional Is Needed
Some console problems are more than just a temporary glitch—they're distress calls coming from deep within the hardware. If you see any of these, it’s your cue to stop what you're doing and get an expert opinion.
Remember the infamous "Yellow Light of Death" (YLOD) on the old PlayStation 3s or the "Red Ring of Death" (RRoD) on the Xbox 360? Those weren't just random errors. They were specific hardware failure codes pointing straight to a critical motherboard issue, usually caused by solder points giving way under years of heat.
You should also watch out for cryptic error codes that flash up on the screen. A quick search might suggest a hard drive failure, which some people are comfortable swapping out. But if that search points towards a motherboard fault, that’s a definite stop sign for any home repair.
The Dangers of Liquid Damage
A spilled drink on a console is every gamer's worst nightmare. It doesn't take much. Even a small amount of liquid can find its way inside and cause immediate short circuits or, even worse, a slow and silent corrosion that eats away at the delicate electronics.
If your console has had a run-in with any liquid, do not—I repeat, do not—try to turn it on. The first instinct is always to check if it still works, but that’s the absolute worst thing you can do. Powering it on sends electricity through wet circuits, causing damage that can't be undone. Unplug it immediately and hand it over to a professional. We have specialised cleaning methods to fight corrosion, but it's always a race against the clock.
Critical Takeaway: Trying to fix motherboard faults, power supply units (PSUs), or liquid-damaged consoles without professional gear like a microscope and a microsoldering station is a huge gamble. You risk permanently destroying the device.
Understanding Component-Level Repairs
Console repairs really fall into two different worlds. First, you have component swaps. This is where you're just replacing a self-contained part, like a cooling fan, a disc drive, or a hard drive. With a bit of patience and a good guide, many DIYers can handle these jobs.
Then you have board-level repairs. This is where things get serious. We're talking about working directly on the motherboard—the brain of the whole operation.
This is where the real complexity kicks in. A broken HDMI port, for instance, might seem like a simple part, but it's soldered to the motherboard with dozens of tiny pins. Replacing it requires a delicate skill called microsoldering, which is just impossible without the right equipment. You can learn more about what's involved with electronic board repairs in Balcatta to see why it's a job for the pros. Take a standard soldering iron from a hardware shop to it, and you’ll almost certainly melt the board and kill the console for good.
This distinction is crucial, no matter which console you own. The Australian market is a tight race, with Xbox currently holding 54.61% of the console market share and PlayStation right behind at 45.39%. You can see the latest stats on Australia's console market share over at Statcounter. Ultimately, both platforms are built on complex motherboard architecture that demands expert attention when something goes seriously wrong.
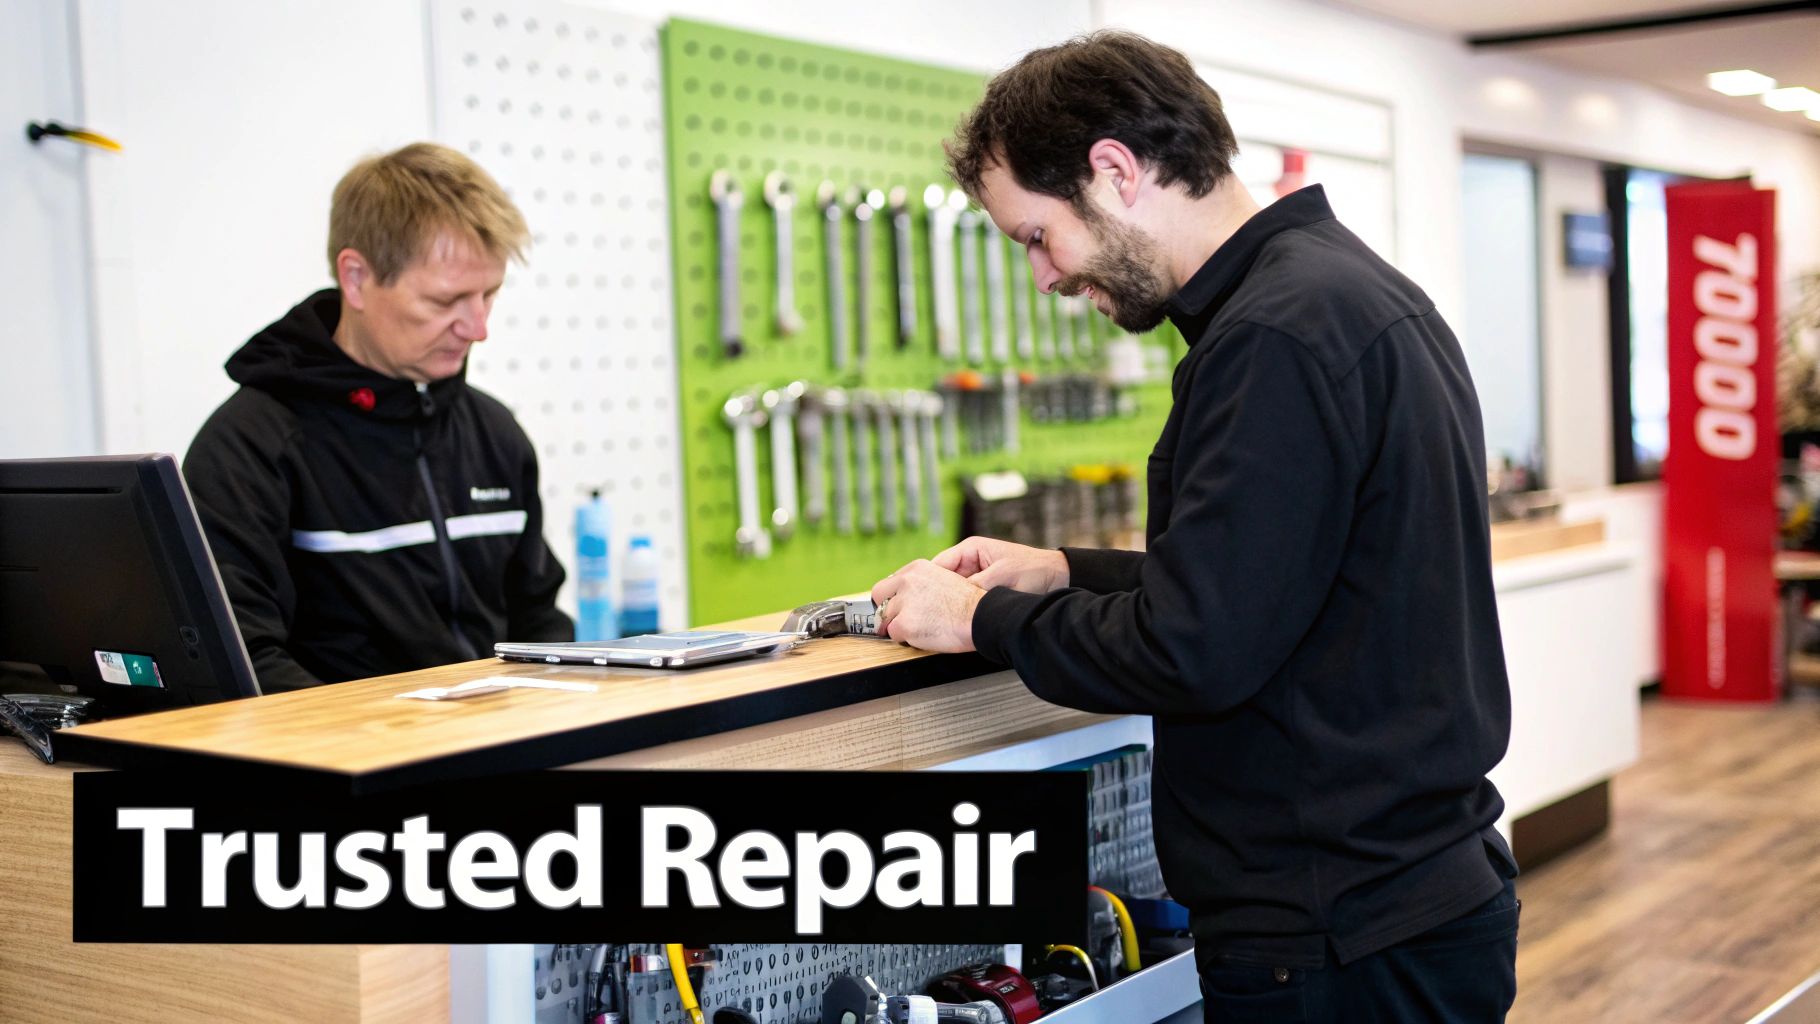
Alright, you've tried the DIY route, and your console is still giving you grief. It happens to the best of us. The next step is finding a pro you can trust, which can feel a bit daunting. After all, you’re handing over your gateway to other worlds. The trick is to look past the price tag and find a technician who knows their stuff and won’t leave you in the dark.
A good technician will be straight with you from the get-go. They should be able to run a proper diagnostic to figure out exactly what’s wrong before hitting you with a final quote. This is key to avoiding those nasty "surprise" costs that can pop up later. You want someone who can clearly explain the problem and their plan to fix your game console, not just mumble something about a faulty "thingamajig."
Evaluating a Repair Shop's Credentials
Before you hand over your console, it's time for a little bit of homework. The best measure of a repair shop's quality is what other gamers in your area are saying about them. Hop online and dig into their reviews. Were people happy with how quickly they got their console back? Do the reviews talk about the quality of the repair itself?
Pay attention to shops that invest in their local reputation and dominate local search with a robust Google Business Profile. A strong online presence filled with recent, positive feedback is usually a good sign they’re serious about keeping their customers happy.
Here are a few must-ask questions for any repairer you're considering:
- What's your warranty policy? A good shop will always back their work. You should be looking for at least a 90-day warranty that covers both the parts they used and the labour.
- What kind of parts do you use? Cheap, knock-off components are a recipe for another breakdown. Ask if they use original (OEM) parts or high-quality equivalents.
- What’s your typical turnaround time? Some complex jobs will naturally take longer, but for common problems like a busted HDMI port or a faulty disc drive, they should be able to give you a solid estimate.
Deciding between tackling it yourself and calling in a professional can be tough. Here’s a quick comparison to help you figure out the best path forward for your specific problem.
DIY Fix vs. Professional Repair
| Factor | DIY Repair | Professional Repair (CTF Repairs) |
|---|---|---|
| Cost | Potentially lower (parts only) | Higher upfront cost (parts + labour) |
| Time | Highly variable; can take hours or days | Fast and efficient; often same-day for common issues |
| Risk | High risk of causing more damage | Minimal risk; insured and experienced technicians |
| Tools | Requires specialised tools you may need to buy | All professional tools and diagnostic equipment on-hand |
| Warranty | None; if it breaks again, you're on your own | Guaranteed; at least 90-day warranty on parts and labour |
| Success Rate | Depends on your skill; can be hit-or-miss | Very high; experts who fix consoles daily |
Ultimately, while a DIY fix can be satisfying, a professional repair offers peace of mind and a guarantee that the job is done right the first time.
Understanding Pricing and Service Offerings
Clear, upfront pricing is a huge deal. A trustworthy service will either list prices for common jobs or give you a free, no-strings-attached quote after they've diagnosed the issue. That’s exactly how we operate at CTF Mobile Phones & Computer Repairs. We think you deserve to know precisely what you're paying for before we even pick up a screwdriver.
We see a massive range of console problems every single day, from hardware failures on older machines to weird glitches on the latest models. Our technicians are kitted out to service all the major players:
- PlayStation: We frequently work on PS4 and PS5 models, with HDMI port replacements and power supply faults being top of the list.
- Xbox: For Xbox One and Series S/X owners, we often see issues with disc drives and overheating fans that need replacing.
- Nintendo: The Switch and Switch Lite are common visitors, usually for controller drift repairs and busted charging ports.
We don't just guess what the problem is. Our workshop is equipped with advanced diagnostic tools that let us pinpoint the root cause. This means we fix the actual fault, not just the symptom, which saves you time and money.
Why a Local Expert Matters
Choosing a local Perth service like CTF Repairs means you get a personal touch and a much faster fix. Forget about the hassle of boxing up your console, shipping it across the country, and then waiting weeks for it to come back. Here, you can talk directly to the person working on your machine and get updates as they happen.
Our team is right here in Perth's northern suburbs, serving areas like Balcatta, Karrinyup, and Mirrabooka. We focus on providing expert repairs that are both high-quality and fast. If you're tired of troubleshooting and just want to get back to your game, we're ready to help.
Your Top Console Repair Questions Answered
When your console suddenly dies, a million questions probably start racing through your mind. How much is this going to set me back? Is it even worth fixing? And the big one: how long will I have to go without my games?
Let's cut through the uncertainty and tackle some of the most common concerns you'll face when you need to fix game consoles. Knowing what to expect makes the whole process a lot less stressful.
What’s a Typical Repair Bill Look Like in Australia?
The cost to fix a game console really hinges on two things: the specific fault and the model of your machine. A straightforward fix will always be easier on the wallet than a major hardware replacement.
To give you a ballpark idea, here’s what we often see for common jobs:
- HDMI Port Replacement: This is easily one of the most frequent repairs we handle. For a PS4 or Xbox One, you're generally looking at around $120 to $180. The newer PS5 and Xbox Series X models can be a bit pricier due to their more complex internal design.
- Disc Drive or Laser Repair: If your console is giving you the cold shoulder and refusing to read discs, a laser replacement or a full drive repair typically falls in the $100 to $160 range.
- Power Supply (PSU) Replacement: When the internal power supply fails, the repair is more involved. Expect a cost somewhere between $150 to $250, as it’s a more delicate and time-consuming process.
Of course, these are just estimates. It’s always best to get a firm quote before you give the go-ahead for any work.
Is It Worth Fixing an Older Console?
This is a classic dilemma, especially if you're still rocking a last-gen machine like a PS4 or Xbox One. The best way to answer this is with a bit of simple maths.
Weigh up the repair cost against the price of a replacement. If a repair is quoted at $150, but a good-quality, refurbished version of the same console costs $250, fixing it is a no-brainer. You save a decent chunk of cash and get to keep the machine that has all your saved games and data on it.
As a rule of thumb, the tipping point is usually when the repair cost hits 70-80% of the console's replacement value. At that point, it might make more sense to put that money towards a newer or refurbished unit.
But don't discount the sentimental value or the sheer convenience of not having to re-download your entire game library. The Australian gaming console market is huge—recently valued at USD 432.35 million—so there's a healthy ecosystem for both new and repaired devices. You can read more about the Australian gaming market's growth to get a better sense of the landscape.
How Long Will I Be Without My Console?
No one wants their gaming rig sitting on a repair bench for weeks. The good news is that most common repairs are surprisingly quick, especially when you bring it to a local specialist.
For straightforward issues where the parts are on hand, a professional repair shop can often turn the job around in just 24 to 48 hours.
A few things can affect that timeline:
- Parts Availability: Common components like HDMI ports and disc lasers are almost always in stock. If your console needs a rare or model-specific part, it might need to be ordered in, which could add a few days.
- Repair Complexity: Swapping out a noisy fan is a world away from a complex motherboard repair that requires microsoldering and hours of testing.
- Diagnostic Time: Sometimes, the trickiest part of the job is just figuring out what’s wrong. An obvious fault is a quick fix; a mysterious, intermittent problem takes a bit longer to pin down.
Here at our repair centre, our goal is always the same: get you back in the game as fast as possible without ever cutting corners on quality.
When you need a fast, reliable, and guaranteed fix for your gaming console, the team at CTF Mobile Phones & Computer Repairs is ready to help. Don't let a hardware fault keep you from your favourite games—get your free repair quote today!