
That heart-stopping moment when a file you desperately need just disappears? We’ve all been there. The most critical thing to know about how to recover deleted files is that your first move can make or break your chances. The golden rule is simple: stop using the device immediately.
This prevents the operating system from writing new data over the space where your 'lost' file is still hiding. From there, your next step is the most obvious one—check the Recycle Bin or Trash. You’d be surprised how often the solution is that simple.
What to Do Immediately After Deleting a File
Those first few minutes after you’ve accidentally hit 'delete' are absolutely crucial. It’s easy to panic, but making the wrong move right now could be the difference between getting your file back and losing it for good.
The single most important thing you can do is to halt all activity on the affected drive. That means no more saving documents, no browsing the web, and definitely no installing new software. Every little action, from a program creating a temporary file to your browser caching a web page, writes new data. And that new data could land right on top of the file you’re trying to save, wiping it out permanently.
Why Stopping Is So Important
To get why this is so critical, it helps to understand the actual process of file deletion. When you delete a file, your operating system doesn't actually erase the data from the drive. Instead, it just marks the space it occupies as 'available' for new information.
Think of it like an old library card catalogue. Deleting a file is like taking the card for a book out of the catalogue. The book is still physically on the shelf, but the library system no longer knows it's there and sees that spot as empty. The data itself remains untouched until the system decides to place a new book in that exact spot.
The golden rule of data recovery: The less you do on the affected drive, the better your chances. Any write operation is a potential threat to your lost file.
This flowchart breaks down the essential first steps for any data recovery situation.

As you can see, your first priority is always to preserve the data by stopping all new activity on the drive. This keeps the 'ghost' of your file intact, giving recovery tools the best possible chance to find it.
To help you react correctly in that high-stress moment, here’s a quick-reference guide.
Immediate Actions to Maximize Recovery Success
| Action to Take Immediately | Reason Why It's Critical | Common Mistake to Avoid |
|---|---|---|
| Stop using the drive. | Prevents new data from overwriting the space occupied by your deleted file. | Continuing to browse the web, save new files, or install programs on the same drive. |
| Power down the computer (if system drive). | Halts all background processes and write operations that could destroy the data. | Simply closing windows but leaving the computer running, which still allows for background activity. |
| Check the Recycle Bin/Trash. | The file may not be permanently deleted and can be restored with a single click. | Assuming the file is gone forever and immediately running complex recovery software. |
| If on an external drive, safely eject it. | Isolates the drive from any further accidental writes from the operating system. | Yanking the USB cable without using the "Safely Remove Hardware" or "Eject" option. |
| Plan your recovery on a separate computer/device. | Avoids installing recovery software on the affected drive, which is a major data-writing operation. | Downloading and installing recovery tools directly onto the drive you're trying to recover from. |
Following these steps buys you precious time and keeps your data in a recoverable state while you figure out your next move.
Your First Port of Call: The Recycle Bin or Trash
Before you even think about specialised software or command-line tricks, always check the basics. In a moment of panic, it’s easy to forget that deleted files usually take a temporary detour before they're gone for good.
- On Windows: Double-click the Recycle Bin icon on your desktop. If you spot your file, just right-click it and hit "Restore." It’ll pop right back to where it was.
- On macOS: Click the Trash icon in your Dock. Find the file, right-click (or Control-click) it, and select "Put Back."
Of course, if you emptied the bin or used a command like Shift + Delete, the file won’t be here. But always, always look here first. It’s the safest and easiest recovery method, and it might just save you a whole lot of trouble.
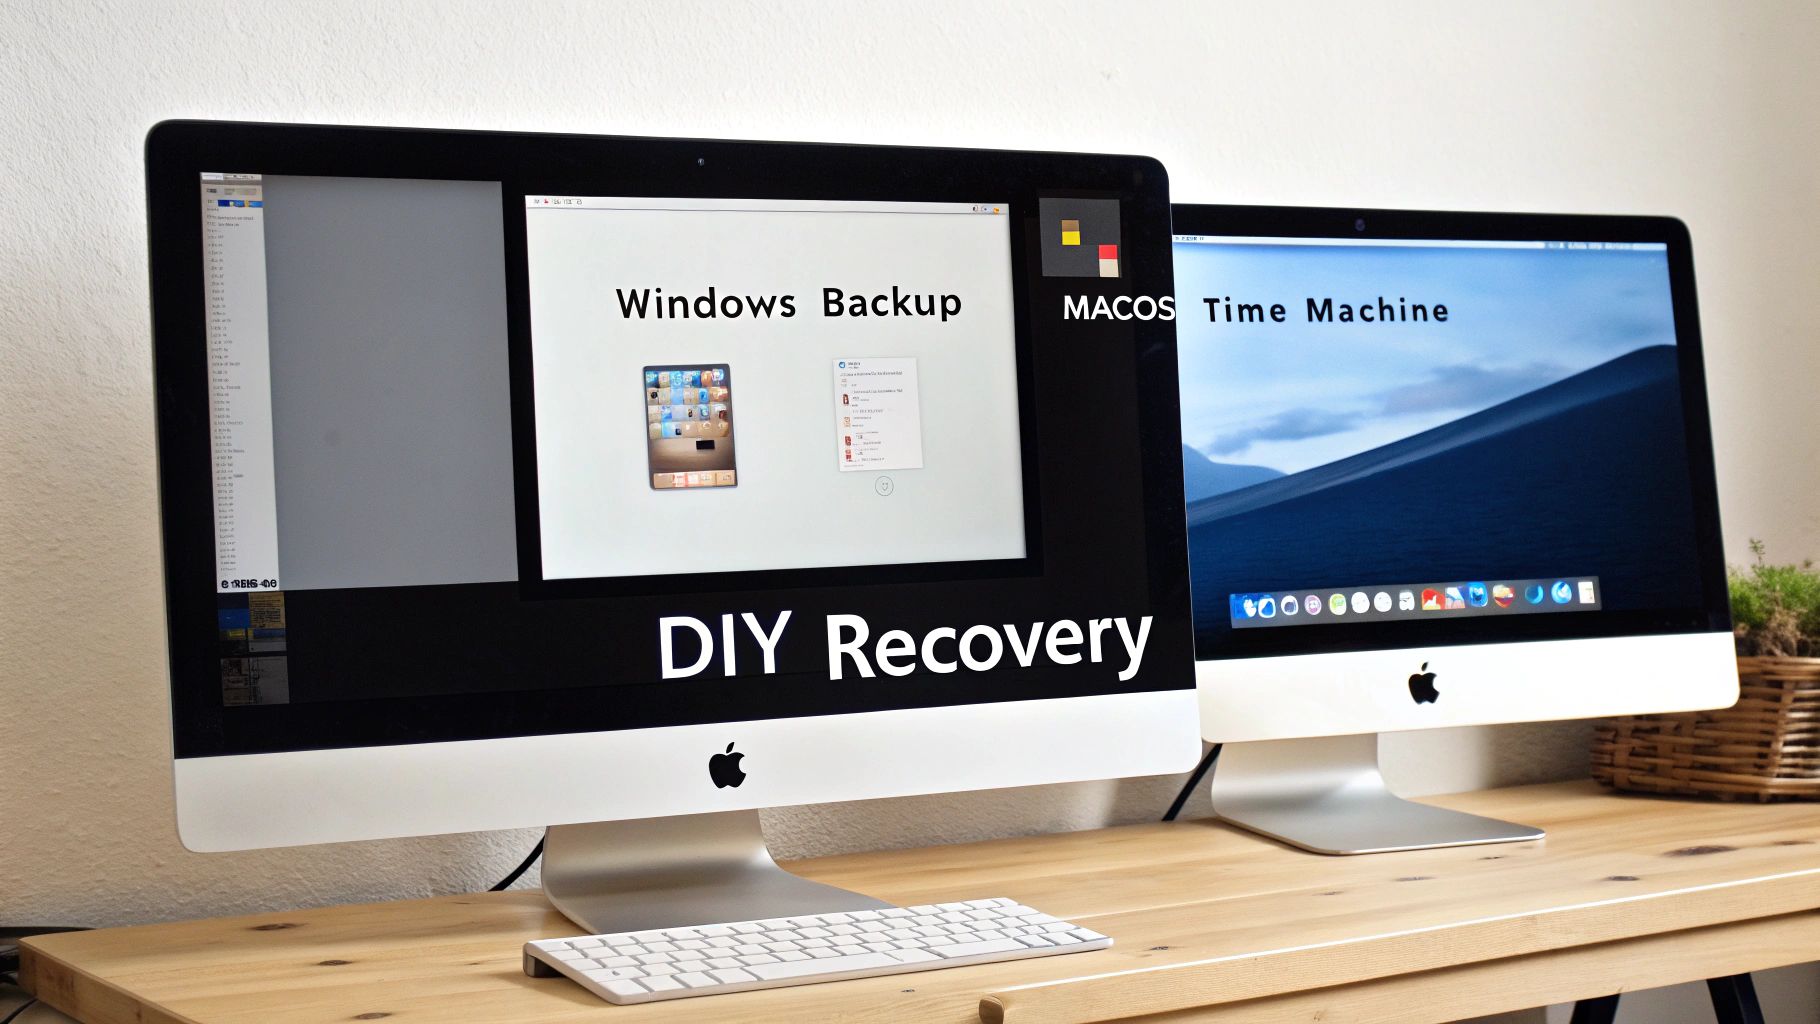
Tackling File Recovery Yourself on Windows and macOS
If you're comfortable getting your hands dirty, you can often recover deleted files on your own using some powerful tools for Windows and macOS. These built-in utilities and trusted apps can be your best first move after a file goes missing, especially if you act quickly.
The golden rule here is to be methodical. Rushing in and installing new software directly onto the drive you’re trying to save can be a fatal mistake—it might overwrite the very data you’re desperate to get back.
Windows' Built-in Recovery Options
Before you even think about downloading a third-party program, it's smart to check what Windows itself can do for you. These features are lifesavers, but they have one catch: they needed to be switched on before you lost the data. If they were, you have a safe and direct route to getting your files back.
There are two key features you'll want to look into:
- File History: If you had this enabled, it automatically saves versions of your files to an external drive. To check, go to the folder where the file used to live, click the "Home" tab in File Explorer, and select "History." You’ll see a timeline of the folder's past states, allowing you to browse back and restore what's missing.
- Previous Versions: Windows also creates 'shadow copies' of your files and folders as part of its System Restore points. Just right-click the folder that held the deleted file, choose "Properties," and head to the "Previous Versions" tab. With a bit of luck, you'll find a list of older versions of that folder that you can open to retrieve your file.
Both of these methods are incredibly reliable and really drive home the importance of setting up backups before disaster strikes. If you haven't enabled File History, now is a great time to do it.
Getting Technical with the Windows File Recovery Tool
For those who don't mind a bit of a challenge, Microsoft provides a free, command-line tool called Windows File Recovery. This is definitely a more hands-on approach, but it can run much deeper scans to find files that have long since vanished from your Recycle Bin.
You won't find a fancy user interface here; it runs in a terminal window, as shown in this screenshot from the Microsoft Store.

To get it working, you need to tell it which drive to scan, where to save the recovered files, and which mode to use. It’s powerful, but not as straightforward as software with clickable buttons.
For example, you'd open Command Prompt as an administrator and type in a command like this: winfr C: E: /regular /n Users<your_username>Documentsimportant_report.docx. This tells the tool to find a specific Word document on your C: drive and save it to your E: drive. It is absolutely critical to recover files to a different physical drive to prevent overwriting your lost data.
Time Machine: The macOS Lifesaver
For Mac users, the first port of call is always Time Machine. Like its Windows counterparts, it's a backup system that requires an external drive and needs to be set up beforehand. If you have been using it, getting a file back is wonderfully simple.
Just open the folder where the file was last located and launch Time Machine from your menu bar. You'll be taken to its unique interface, which looks like a stack of windows fading into the past. Using the arrows or the timeline on the side, you can travel back to a point before the file was deleted, select it, and simply click "Restore."
Time Machine is easily one of the most dependable ways to recover files on a Mac. Its versioning system is a huge plus—you can not only bring back a deleted file but also restore an older version of a document you've changed.
When to Use Third-Party Recovery Software
If the built-in tools can't help, the next step is to turn to specialised third-party software. Programs like Recuva (for Windows) or Disk Drill (for Windows and macOS) offer a much friendlier graphical interface that walks you through the scanning and recovery process.
Here’s how they generally work:
- Install the software onto a separate, healthy drive. This is non-negotiable. Installing it on the drive containing your lost data is a recipe for disaster.
- Point the software to the right drive. Select the drive where the files were originally deleted from.
- Run a scan. You'll usually get an option for a "quick scan" or a "deep scan." A quick scan is faster and a good place to start. If it comes up empty, the deep scan will perform a much more exhaustive search for file fragments.
- Preview and recover. The tool will present a list of files it thinks it can recover. Use the preview function to check if the file is intact, then select it and save it to a different, safe drive.
While these programs can work wonders, they aren't miracle workers. Your chance of success hinges on how much you've used the computer since the file was deleted. The less new data written to the drive, the better your odds.
Recovering Deleted Files From Mobile Devices
Losing precious photos or important files from your smartphone hits differently. It’s a uniquely frustrating feeling because, unlike a desktop computer, you can’t just plug it in and run a standard recovery program. The whole game of file recovery on mobile devices follows a completely different set of rules, mostly dictated by heavy-duty encryption and cloud backups.
Before you go any further, the very first place to check—for both Android and iPhone users—is your cloud storage. Services like Google Photos and Apple's iCloud are designed to be your safety net. More often than not, a photo you thought was gone forever is just sitting safely in the cloud, waiting for you.
First, Check Your Cloud and "Recently Deleted" Folders
Okay, before you panic, take a deep breath and start with the simplest solutions. Nearly all photo and file management apps on your phone have their own version of a "Trash" or "Recycle Bin."
- For photos and videos: Jump into your main photo app (that's Google Photos on Android, or Photos on iPhone). Find the "Library" or "Albums" tab, then look for a folder named "Bin," "Trash," or "Recently Deleted." Deleted items often hang around here for 30 to 60 days before being permanently erased.
- For other files: Have a look inside apps like Google Drive, iCloud Drive, or Dropbox. They work the same way, holding onto deleted files in a trash folder for a little while.
Honestly, this simple check is often all it takes. If your files are there, getting them back is just a matter of a few taps. If not, well, the path forward gets a lot steeper, especially if you're an iPhone user.
The Hard Truth About iPhone Data Recovery
Modern iPhones are fortresses of privacy and security. While that's fantastic for keeping your data safe from prying eyes, it's a massive roadblock for recovery. The big villain here is something called file-based encryption.
Since iOS 12, every single file on an iPhone is encrypted with its own unique key. When you delete a file, the system doesn't just mark the space as available for new data—it securely shreds that file's specific encryption key. Without the key, the data that's left behind is just a meaningless jumble of characters. It’s impossible to reconstruct.
This technical reality means that for most modern iPhones, recovering permanently deleted files isn't just difficult; it's virtually impossible. And this isn't just a theory. Research from top Australian data recovery specialists confirms it. One analysis of over 3,650 data recovery requests found that a staggering 95% of cases involving deleted content could not be recovered on devices running iOS 12 or later.
Even the advanced forensic tools used by law enforcement can't get that data back once the encryption key is gone. If your device is just disabled or locked, you might have other ways to get back in, but recovering deleted files is a whole different beast. You can find out more about what to do in that scenario in our guide on how to unlock a disabled iPhone.
This is a crucial takeaway for all iPhone users in Australia. While we have a high success rate recovering data from physically damaged iPhones, the chance of getting back deleted files from a modern, working iPhone is almost zero. This is exactly why regular backups aren't just a good idea—they're absolutely essential.
What You Need to Know About Android Recovery
The situation with Android devices is a bit more of a mixed bag. Your chances of success really depend on where the data was stored and your phone's specific setup.
- Data on an SD Card: If your deleted files were on a microSD card, you're in a much better position. You can simply take the card out, pop it into a computer using a card reader, and use the same data recovery software we covered for external drives. As long as the data hasn't been overwritten, your chances are pretty good.
- Data on Internal Storage: This is where things get tricky. Just like iPhones, modern Android phones use strong encryption, which makes direct recovery from the internal storage incredibly difficult. You’ll see plenty of recovery apps on the Google Play Store making big promises, but they almost always require root access. Rooting gives you deeper control over the operating system, but it's a risky process that can void your warranty and open up security holes.
For most Android users who haven't rooted their device, your best and most reliable hope lies in your backups. Google's automatic backup for photos, contacts, and app data is surprisingly robust. It’s always worth double-checking that these features are enabled—they’re your most reliable lifeline.
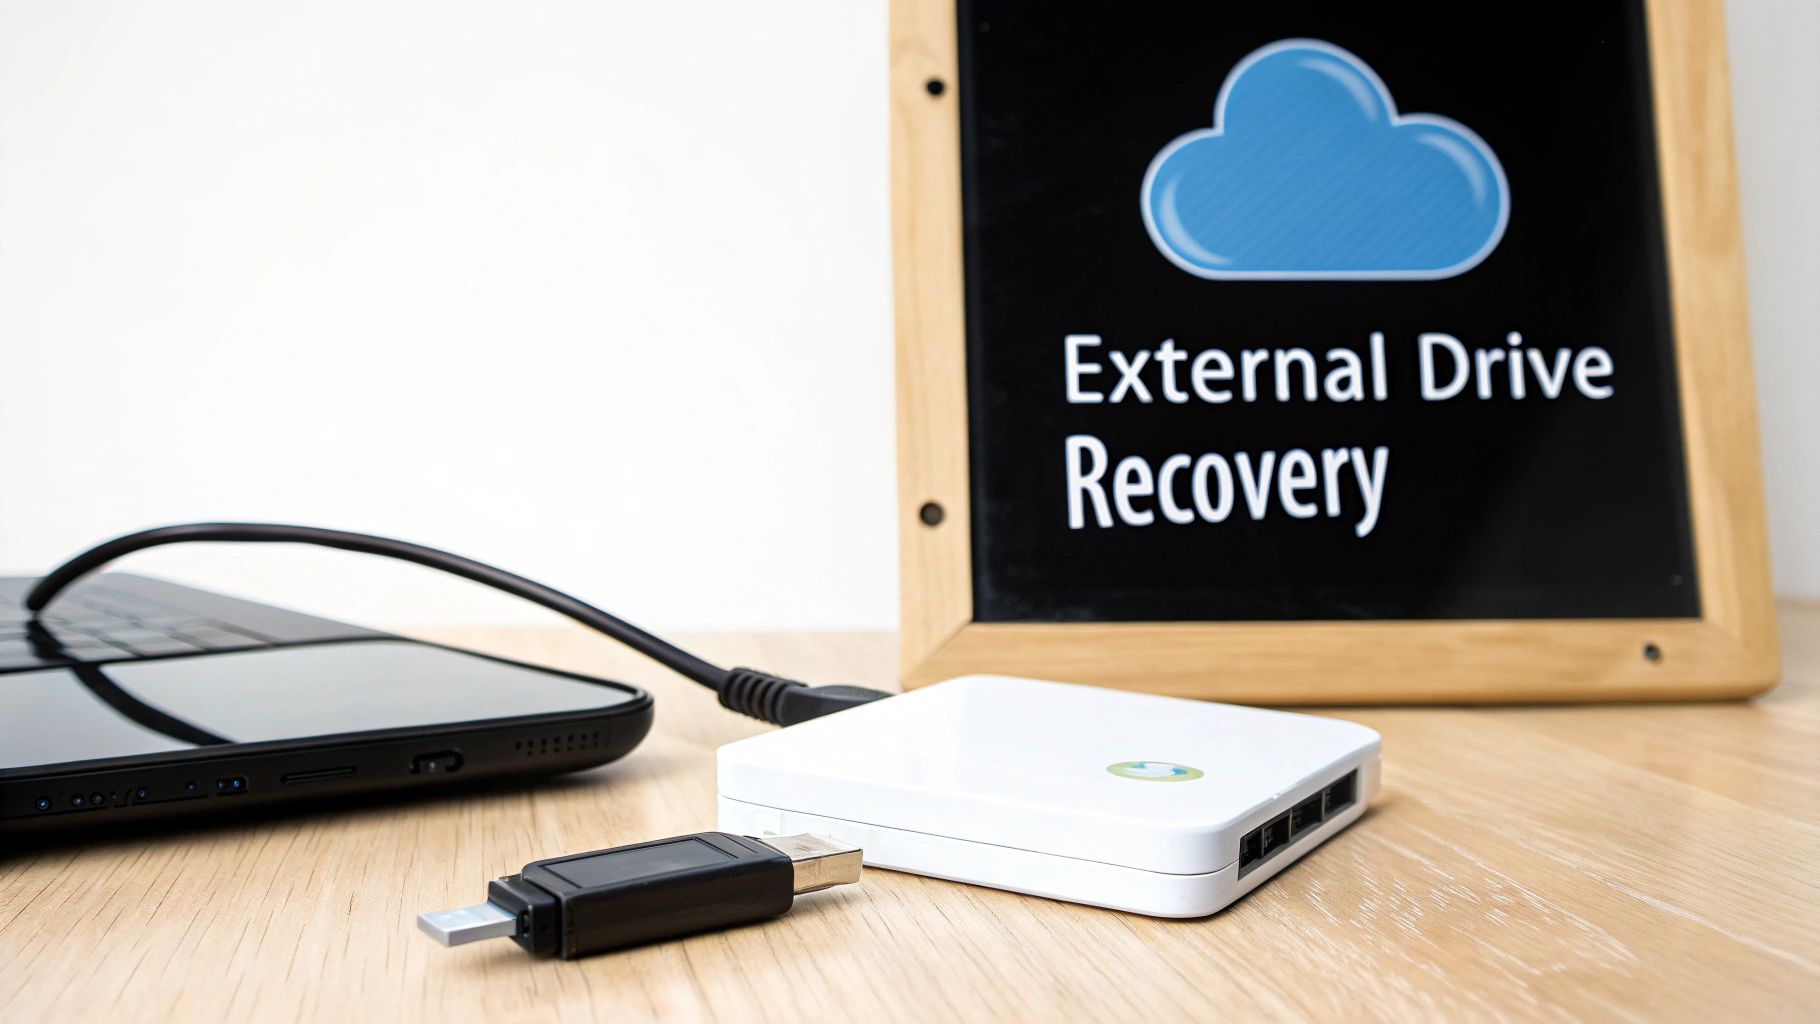
What About External Drives, SSDs, and Cloud Storage?
Data loss doesn't just happen on your main computer. Your precious files are spread across USB sticks, external hard drives, super-fast SSDs, and even cloud services. Each of these storage types has its own quirks when it comes to getting your data back.
External HDDs and USB Sticks: The Basics
Let's start with the most common scenario: recovering files from a traditional external hard disk drive (HDD) or a simple USB stick. This is usually the most straightforward recovery job. If the drive itself isn't physically broken—meaning it still powers on and is recognised by a computer—you can treat it much like an internal drive.
The trick is to connect it to a different, healthy computer. Then, run your chosen data recovery software on that machine, pointing it at the external drive. The golden rule is to save any files you recover to a completely separate location, never back onto the drive you're recovering from.
Key Takeaway: For external HDDs and USBs, the process is pretty standard. Stop using the drive the second you realise there's a problem. Plug it into another computer and run your scan from there. This prevents the computer from accidentally writing new data over the very files you’re trying to save.
The Special Case of Solid-State Drives (SSDs)
Now, Solid-State Drives (SSDs) are a completely different beast. They're incredibly fast, but that speed comes at a cost to data recovery, and the culprit is a feature called the TRIM command.
TRIM is essentially the SSD's garbage collection system. It's an automatic process that keeps the drive running efficiently. When you delete a file on an SSD with TRIM enabled, the operating system doesn't just mark the space as available; it tells the drive those data blocks are no longer in use. The SSD then wipes them clean almost instantly to get them ready for new data.
Here’s what that means for you:
- The Action: Unlike an old-school hard drive, an SSD with TRIM actively erases the data you deleted.
- The Result: Once TRIM has run, your data is gone. Permanently. Standard recovery software can’t find anything because there’s literally nothing left to find.
- Your Window of Opportunity: If you realise your mistake the instant it happens, you might have a few seconds to act before TRIM kicks in. Realistically, though, for most people, recovering deleted files from a modern SSD is often a lost cause.
The Ticking Clock of Cloud Recovery
Cloud storage services like Microsoft 365 or Google Workspace have become essential, but they are not a foolproof backup. They have very strict, non-negotiable rules about how long they keep your deleted files.
When you delete a file in the cloud, it usually goes into a 'Trash' or 'Deleted Items' folder, just like on your desktop. Restoring it from there is simple.
Empty that folder, and you might have one last safety net, often called a 'Recoverable Items' folder. This is your final chance. For those of us in Australia using cloud email like Microsoft Outlook, the window is tight. Once an email is deleted from a personal Outlook account, it sits in the Deleted Items folder for about 30 days. After that, it's purged forever from Microsoft’s servers. No one—not even their support team—can retrieve it. You can see the fine print in Microsoft's official guidance on data retention.
This brings up a crucial point for anyone using the cloud: the clock is always ticking. It doesn't matter if it's Google Drive, Dropbox, or OneDrive. You have to act fast, because once the provider's final retention period is up, your data is truly gone for good.
When It's Time to Call a Data Recovery Professional
DIY software is a fantastic first line of defence, but there's a definite point of no return. Continuing to tinker with a failing drive can quickly turn a recoverable situation into a complete write-off. Knowing when to stop and call in an expert is probably the single most important decision you can make, especially when your data is irreplaceable.
There are a few key signals that should have you powering down the device immediately and reaching for the phone.
The moment the problem shifts from a simple software glitch to a physical hardware failure, the game changes entirely. Trying to "fix" a physically damaged drive yourself is one of the fastest ways to destroy your data for good.
Red Flags for Physical Drive Failure
If your hard drive is making any strange noises, stop. Immediately. Don't leave it running in the hope that it will sort itself out. Those sounds are the death throes of mechanical parts, and every second the drive spins, it's actively grinding your data into oblivion.
Listen for these tell-tale signs:
- Clicking or Ticking: This is the infamous "click of death." It means the read/write heads can't find the data tracks and are snapping back and forth, trying to get a lock.
- Grinding or Scraping: An absolutely horrifying sound. This usually means the heads have physically crashed onto the magnetic platters, scraping away the surface where your files live.
- Beeping or Whirring: Odd beeps or a motor that sounds like it’s struggling to spin up often points to an electronic fault or a seized motor.
Any of these noises signal a critical hardware emergency. The only safe move is to unplug the drive and contact a specialist. Continued use can cause catastrophic platter damage, making recovery impossible even for us.
When the Logical Damage Runs Too Deep
Sometimes, the drive is physically sound, but the data structure itself is a mess. While software can often handle simple file deletions, more complex logical problems need specialised tools and techniques that are well beyond what standard apps can do.
It’s time to call a professional for situations like these:
- Accidentally Reformatted Drives: Especially if you performed a full format (not a quick one) or, even worse, have started writing new data back onto the drive.
- Severe File System Corruption: If your drive suddenly shows up as "RAW" or the operating system is constantly pestering you to format it, the core structure is broken.
- Ransomware Attacks: When your files have been encrypted by malicious software, getting them back is a complex forensic process that demands expert intervention.
Australian businesses, in particular, face a tough battle with data recovery after a security breach. A recent report found that a staggering 54% of Australian businesses feel they aren't ready to restore operations after a data incident. Most leaders hope to be back up and running in under a week, but the reality is often a month-long struggle, mostly because they can't recover critical encrypted or deleted files. The full Commvault State of Data Readiness in ANZ report makes for some sobering reading.
The Professional Advantage
For these kinds of complex scenarios, your best bet is to look into professional data recovery services. Real experts work in certified cleanroom environments, which allows them to safely open damaged drives without a single dust particle causing further damage. We use specialised hardware to clone failing drives bit-by-bit and proprietary software to piece together data from even the most corrupted file systems.
If the lost data is critical to your business, contains priceless family photos, or is simply irreplaceable, the investment in a professional service is your best—and often only—chance of success. For those in Perth and the surrounding areas, finding local help is key. You can search for data recovery services near me to get the expert assistance you need.
Answering Your Top File Recovery Questions
https://www.youtube.com/embed/O1sMWwUZgco
When you're staring at a "file not found" error, your mind starts racing with questions. It's completely normal. We've heard just about every question in the book over the years, so let's tackle some of the most common ones right here.
My goal is to give you the straight-up, honest answers you need to figure out what to do next. This isn't just theory; it's practical advice based on countless real-world recovery jobs.
Can Files Be Recovered After Formatting a Drive?
This is probably the number one question we get, and the answer is a classic "it depends." It all comes down to how the drive was formatted. This little detail is one of the most important things to understand in the world of data recovery.
You’ve got two main kinds of formats:
- Quick Format: Think of this as ripping the table of contents out of a book. The chapters (your data) are still there, but the system has no easy way to find them. Because a quick format just deletes the file system's "address book," your data remains physically on the drive and is often highly recoverable with the right tools. The key is to not write any new files to the drive after the format.
- Full Format (or Standard Format): This is far more destructive. It doesn't just wipe the file system; it goes a step further and writes zeros over every single sector. This process actively destroys the old data, making recovery nearly impossible.
So, if you accidentally hit 'Quick Format', breathe a little easier. There's a very good chance we can help. A full format, however, usually means the data is gone for good.
How Much Does Professional Data Recovery Cost in Australia?
There's no single price tag for professional data recovery in Australia because every single case is different. The cost can swing quite a bit depending on what we're up against.
A few key things influence the final price:
- The device itself: Getting data off a simple USB stick is a world away from recovering a failed multi-drive RAID server.
- The type of failure: Logical problems, like an accidental format, are generally less complex and therefore cheaper to fix than physical failures. A clicking hard drive, a dropped SSD, or a water-damaged phone requires a whole different level of expertise and equipment.
- How fast you need it: If it's an emergency that needs our team working after hours or on a weekend, the cost will naturally be higher.
As a rough guide, you could be looking at a few hundred dollars for a straightforward logical job, all the way up to several thousand for complex physical repairs in a specialised cleanroom. Any reputable service in Australia, including our team here in Perth, should offer a free evaluation and a no-obligation quote before starting any work. That way, you know exactly what you're dealing with upfront, with no surprises.
Is It Safe to Use Free Data Recovery Software?
Look, the idea of a free, easy fix is incredibly tempting, but you have to be so careful here. The internet is flooded with "free" recovery tools, and many of them come with risks that can turn a recoverable situation into a permanent loss.
Some free programs are legitimate and safe—think Recuva (from the people who make CCleaner) or Microsoft's own command-line tool, Windows File Recovery. The problem is, many others are traps. They can be bundled with malware, spyware, or adware that can infect your system, steal your data, or just make a mess of things.
Always download software directly from the developer’s official website. Never use third-party download portals, and be extremely skeptical of any program that promises a 100% recovery rate. If it sounds too good to be true, it almost certainly is.
Even with a safe tool, using it incorrectly can be catastrophic. If you accidentally install it onto the same drive you're trying to recover files from, you could overwrite the very data you want back. Sometimes, the problem isn't just a deleted file; corrupted data can be a sign of a deeper issue. It's often worth learning how to remove a virus from your computer to be sure malware isn't the real culprit.
When your most important files are gone, you need a team you can count on. Here at CTF Mobile Phones & Computer Repairs, our Perth-based experts use professional-grade tools and years of experience to give you the absolute best chance of getting your data back. Don't risk making things worse with a DIY attempt—get in touch with us for a free evaluation and expert advice.