
That awful crunching sound, followed by a spiderweb of cracks spreading across your display, is the most obvious sign you need a MacBook screen replacement. But it’s not just the dramatic accidents that spell trouble. Sometimes, the signs are more subtle—things like flickering, dead pixels, or weird lines that signal your screen is on its last legs.
Getting it sorted out quickly and professionally is the best way to bring back that crystal-clear display and get your MacBook working perfectly again.
Spotting the Signs: When Does Your MacBook Screen Need Replacing?
It’s a common mistake to think only a smashed screen needs a repair. Your MacBook's display can fail in plenty of other, less obvious ways. These issues might start as a minor annoyance but can quickly get worse, making your device a nightmare to use for work, uni, or just relaxing.
Knowing what to look for helps you catch the problem early before it becomes a major headache.

Whether you’re a student at ECU or working in the Perth CBD, a dodgy display can throw your whole day out of whack. A simple drop at your local cafe or even just the pressure from a backpack stuffed too full can cause instant, serious damage.
Common Symptoms of a Dying Screen
Beyond the obvious shattered glass, there are several visual glitches that mean it’s time to get a professional to take a look. These aren't just software bugs that a restart will fix; they usually point to a hardware failure deep inside the display assembly.
Be on the lookout for these classic warning signs:
- Vertical or Horizontal Lines: If you’re seeing coloured or black lines streaking across the screen, it’s a strong indicator of a bad connection or a physically damaged panel.
- Flickering Display: Does your screen’s brightness jump around, or does the image seem shaky? This often means the backlight or one of the internal cables is on its way out.
- Dead Pixels or Black Spots: These are the tiny black or off-colour dots that just won't go away. A few might be tolerable, but a growing cluster can be incredibly distracting.
- Complete Backlight Failure: This is a tricky one. The screen isn't actually black—if you shine a bright torch on it, you can just make out your desktop. It means the light behind the screen has died, making it impossible to see in normal conditions.
A damaged MacBook screen is more than just an eyesore. It tanks your productivity and can even lead to more serious hardware issues if you leave it. Getting it fixed promptly with a professional MacBook screen replacement is the only sure-fire way to get your device back to 100%.
Breaking Down MacBook Screen Replacement Costs in Perth
When your MacBook screen goes dark or gets cracked, the first question that flashes through your mind is almost always, "How much is this going to set me back?" Let's be honest, nobody budgets for a broken screen. But figuring out the cost of a MacBook screen replacement in Perth doesn't have to be a shot in the dark.
The final price really boils down to a few key things, and knowing what they are helps you understand what you're paying for and avoid any nasty surprises.
The biggest factor, by far, is your MacBook's specific model and its age. Think of it like buying a part for your car—a headlight for the latest performance model is going to be pricier than one for a hatchback from 2015. It's the same deal here. A stunning new Liquid Retina XDR display for a top-of-the-line MacBook Pro is a much more complex and expensive piece of kit than the screen for an older MacBook Air.
Key Factors That Influence Price
The price isn't just a random number. It's a mix of the cost of the screen itself, how tricky the repair is, and the technology built into your display. Modern MacBooks, for instance, pack features like True Tone and ProMotion right into the screen assembly, making the part itself far more advanced.
Here’s a quick rundown of what drives the cost:
- MacBook Model: Is it a MacBook Air or a MacBook Pro? As a rule of thumb, Pro models have more sophisticated—and therefore more expensive—displays.
- Year of Manufacture: The screen in a 2017 model uses completely different technology than one from 2023. This difference directly affects the replacement part's price.
- Display Type: The jump from a standard Retina display to a Liquid Retina or Liquid Retina XDR screen is huge. These newer panels give you incredible brightness, colour, and refresh rates, but they also cost more to replace.
This is exactly why getting a precise, upfront quote based on your MacBook's serial number is so crucial. It cuts through the guesswork. For a broader look at repair pricing, you can check out our guide on laptop screen repair costs.
Independent Repair Shops vs Official Apple Services
This is where you can find some serious savings. For an out-of-warranty repair, choosing a trusted independent shop in Perth over going straight to Apple can often slash the cost without compromising on quality.
Local independent shops simply have lower overheads and can source high-quality parts from a wider range of suppliers. This flexibility allows them to offer the same expert-level MacBook screen replacement at a much more wallet-friendly price.
Going through Apple for a screen replacement outside of AppleCare+ can be eye-wateringly expensive. Independent technicians offer a vital, budget-friendly alternative that makes professional repairs accessible to more people.
Here in Australia, you can see a clear difference. Data from local third-party repairers shows MacBook Air screen replacements typically run between $400 and $600 AUD. For the Pro models with Retina or M-series chips, you’re looking at $600 to $900 AUD. Compare that to Apple's official out-of-warranty fees, which can easily soar past $1,000, and the choice becomes pretty clear.
The table below lays out the potential savings in plain English.
Estimated MacBook Screen Replacement Costs Perth (AUD)
| MacBook Model | Typical Independent Repair Cost (e.g., CTF) | Estimated Apple Out-of-Warranty Cost |
|---|---|---|
| MacBook Air (Retina, 2018-2020) | $450 – $600 AUD | $700 – $850+ AUD |
| MacBook Pro 13" (2016-2020) | $600 – $800 AUD | $900 – $1,100+ AUD |
| MacBook Pro 14"/16" (M1/M2) | $750 – $950+ AUD | $1,200 – $1,500+ AUD |
Note: Prices are estimates and can vary based on your exact sub-model and the extent of the damage. Always get a direct quote for an accurate figure.
By opting for a trusted local expert in Perth, you're not just fixing a screen; you're making a smart financial decision. You get your essential device back in your hands faster, and for a whole lot less.
The Professional Repair Process From Start to Finish
Handing your MacBook over for a repair can be nerve-wracking. After all, it holds your work, your memories, and your connection to the world. To pull back the curtain and show you exactly what happens behind the workshop door, let's walk through the careful and transparent process a professional technician follows for every MacBook screen replacement.
It’s not just a simple swap-out. It’s a highly technical procedure designed to bring your MacBook back to life, making sure every single component works just as it should.
This quick overview shows how a professional repair gives you both quality and real value.
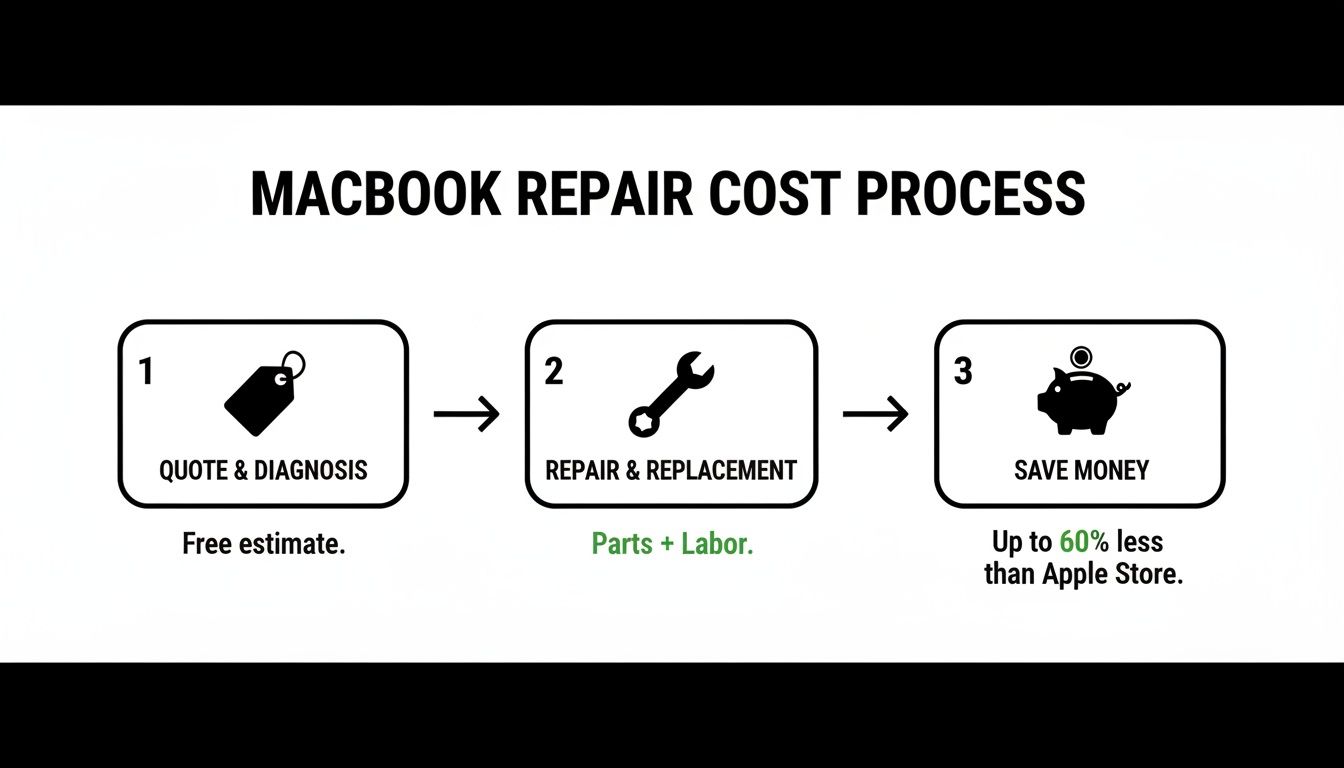
The main takeaway here is that a structured process—from an accurate quote to the final checks—is what guarantees a reliable repair, ultimately saving you money and stress.
Stage 1: Initial Diagnosis and a Clear Quote
The journey always starts with a free, no-obligation diagnosis. A skilled technician will examine your MacBook to confirm that the screen assembly is the real problem and to scout for any other hidden issues. This isn't just a quick look; it involves checking for subtle signs of liquid damage or impact points you might not have even noticed.
Based on this expert assessment and your specific MacBook model, you'll get a clear, upfront quote. It will break down the total cost, including the replacement part and labour, with no nasty surprises. Transparency is key, so you can make an informed decision before going ahead with the repair.
Stage 2: The Meticulous Replacement Procedure
Once you give the go-ahead, the real hands-on work begins. This is where expertise and specialised tools are absolutely critical. The process is far more delicate than just undoing a few screws; it's a systematic operation carried out in an anti-static environment to protect your MacBook's sensitive electronics.
Here’s what typically happens:
- Careful Disassembly: First things first, the technician safely powers down the device and disconnects the battery. They then remove the bottom case and methodically unclip the various fragile ribbon cables that connect the display, camera, and sensors to the logic board.
- Removing the Damaged Assembly: Next, the hinges holding the display assembly to the main body are carefully unscrewed. The entire damaged screen unit is then lifted away, ready for its replacement.
- Installing the New Screen: A brand-new, high-quality screen assembly is precisely fitted. The technician re-attaches it to the hinges and painstakingly reconnects all the delicate data cables for the display, camera, and ambient light sensors.
- Reassembly and Internal Checks: With the new screen secured, the device is put back together. Every screw and internal component is returned to its exact spot, ensuring a perfect factory fit.
A professional repair isn't just about replacing a broken part. It's about respecting the intricate engineering of your MacBook and ensuring every single function—from the webcam to the keyboard backlight—works flawlessly after the service.
Stage 3: Comprehensive Quality Assurance Testing
A successful screen replacement means more than just a display that lights up. Before your MacBook is ready to go, it has to pass a tough series of quality assurance tests to guarantee every feature is working perfectly. This is a non-negotiable final step that separates a professional job from an amateur attempt. For more detail on specific models, our info on the MacBook Pro display replacement process is a great resource.
This final, crucial phase involves checking several key functions:
- Display Calibration: We check for correct colour accuracy, brightness levels, and make sure there are no dead pixels or blemishes on the new panel.
- True Tone Functionality: We ensure the ambient light sensor is working correctly, allowing the screen to adjust its colour temperature automatically.
- Camera and Microphone Test: Your FaceTime HD camera and microphones are tested to make sure they're crystal clear for your video calls.
- Wi-Fi and Bluetooth Antenna Check: Since these antennas live inside the display assembly, their signal strength is tested to ensure you have strong, reliable connectivity.
Only after passing every single one of these checks is the repair officially done. This dedication to quality ensures you get your MacBook back in perfect working order, with a brilliant new screen and the peace of mind that comes from a job done right.
OEM vs High-Quality Aftermarket Screens
When your MacBook screen needs replacing, you'll face a big decision: what kind of screen should you get? It really boils down to two choices: an Original Equipment Manufacturer (OEM) part or a top-notch aftermarket screen. Knowing the real-world differences between them is the key to making a smart call that suits both your needs and your wallet.
It’s a bit like getting your car repaired. You can insist on parts made by the original car company, or you can go with high-quality parts from a trusted third-party specialist. Both options will get your car back on the road, but they come with different price tags and trade-offs.
What Is an OEM Screen?
An Original Equipment Manufacturer (OEM) screen is a panel made by the very same companies Apple uses to build its displays. Apple doesn't actually make the screens in-house; they partner with industry giants like LG and Samsung, who manufacture the displays to Apple's incredibly strict standards.
When a repair shop like ours installs an OEM screen, we’re sourcing a panel from that exact supply chain. It’s the closest you can possibly get to the display your MacBook had when you first took it out of the box.
The advantages of an OEM screen are pretty straightforward:
- Perfect Compatibility: These screens are built to work perfectly with your MacBook. Every feature, like True Tone, which automatically adjusts the screen's colour, will function exactly as it was designed to.
- Guaranteed Colour Accuracy: This is a non-negotiable for creative professionals. If you're a photographer, video editor, or designer, an OEM panel ensures the colours you see are spot-on, as they are calibrated to Apple's precise specifications.
- Original Fit and Finish: An OEM screen will slot into your MacBook’s casing perfectly, preserving that seamless, premium look and feel you expect from an Apple device.
Basically, choosing an OEM screen is like hitting the reset button and getting your MacBook back to its original factory condition. Of course, that level of quality comes at a price, reflecting the higher cost of parts built to Apple's demanding specifications.
The Case for High-Quality Aftermarket Screens
Now, let's talk about high-quality aftermarket screens. These offer a brilliant compromise between performance and cost. They're made by reputable third-party companies that specialise in producing replacement parts that are compatible with big-name brands. The key phrase here is "high-quality"—there's a world of difference between a premium aftermarket part and a cheap knock-off.
A good aftermarket screen is engineered to get as close as possible to the original's performance. For most people, the difference in day-to-day use is honestly unnoticeable. You're still getting a sharp, bright, and dependable display that makes your MacBook feel new again.
There's an old myth that all third-party parts are junk. That’s simply not true anymore. A good repair shop will have trusted suppliers for aftermarket screens that deliver excellent brightness, colour, and reliability, making them a fantastic, budget-friendly choice.
Here’s why a high-quality aftermarket screen is such a popular option:
- Significant Cost Savings: This is the main draw. Going with an aftermarket screen can easily save you hundreds of dollars compared to an OEM replacement, which makes getting a professional repair a much more manageable expense.
- Excellent Performance: The best aftermarket panels offer fantastic visual quality. If you put one side-by-side with an original, a trained eye might spot tiny differences in colour temperature or peak brightness, but for everything from browsing and emails to watching movies, the display is brilliant and completely functional.
- Reliability and Durability: We only use aftermarket screens from suppliers we trust. These parts are built to last and go through rigorous quality checks. When a professional installs one, it’s a solid, long-term fix for your MacBook.
For students, office workers, and everyday users who just need a reliable and affordable repair, a high-quality aftermarket screen is almost always the most practical way to go. It gives you fantastic results without the premium OEM price tag, so you can get back to what you were doing without draining your bank account.
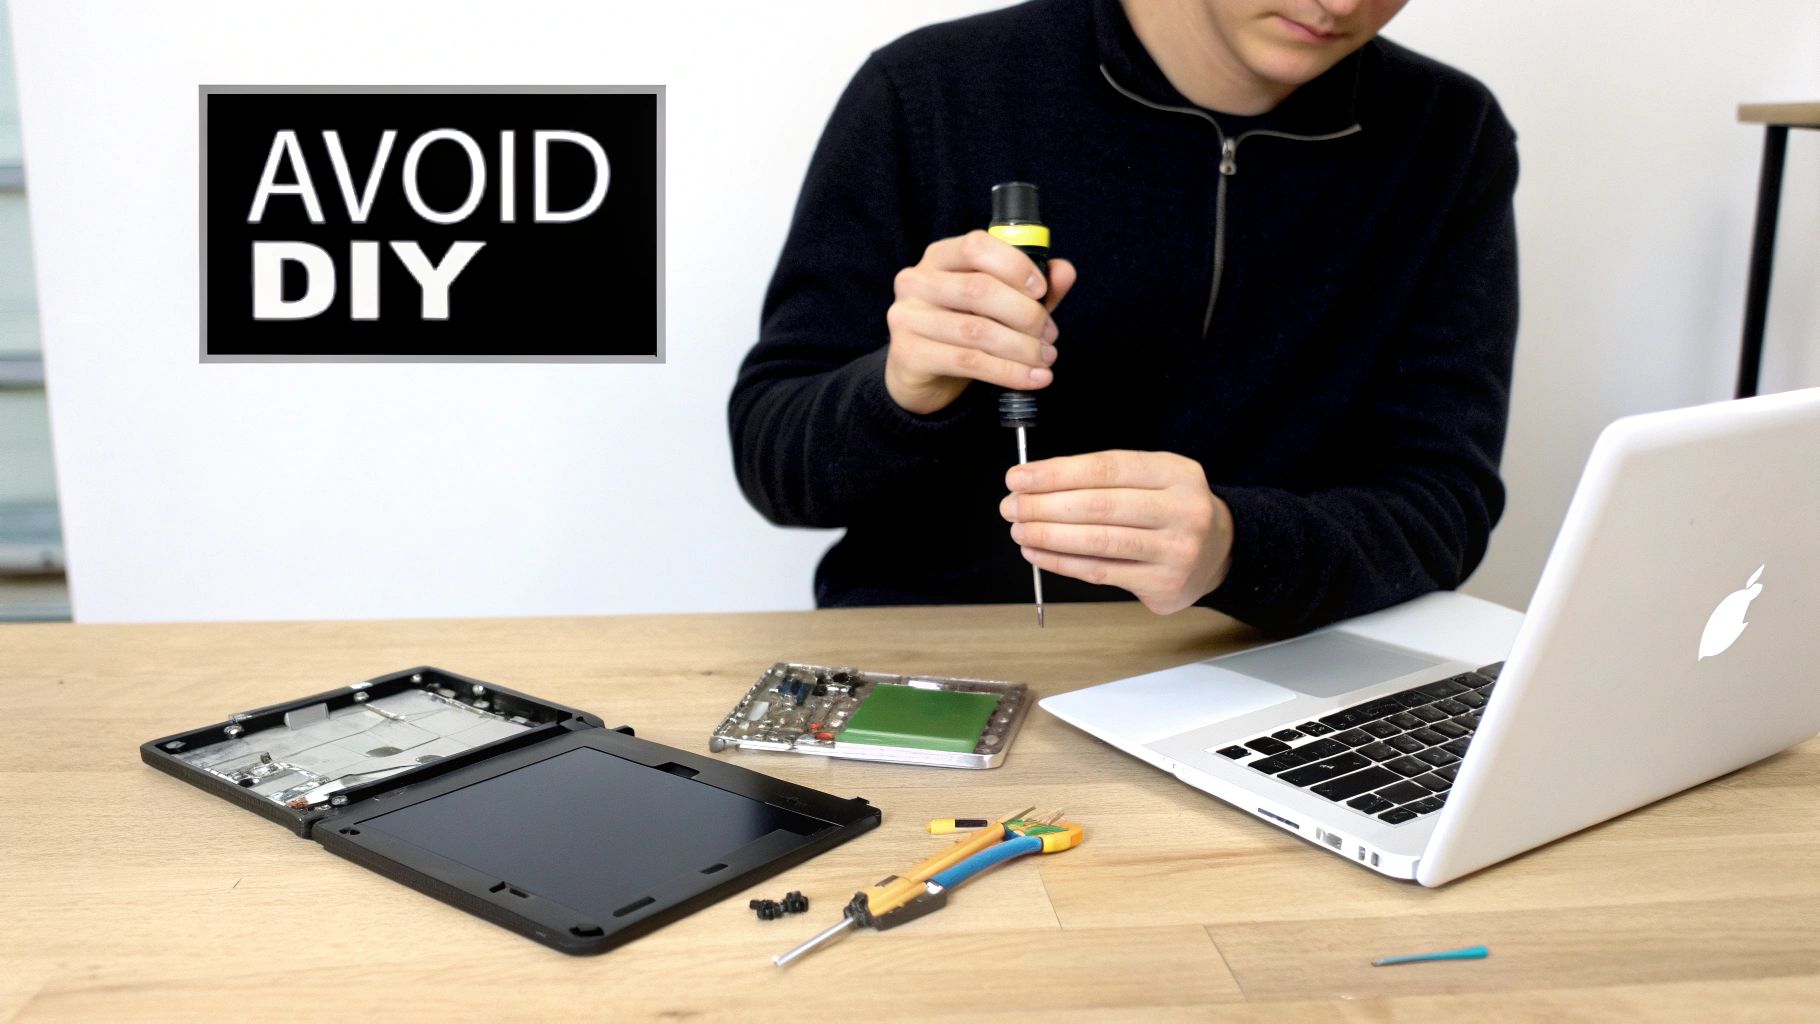
The Hidden Dangers of DIY Screen Replacement
Let's be honest, watching a few YouTube tutorials can make a MacBook screen replacement look almost easy. You see the neat little toolkits online, and the thought of saving a few hundred dollars is pretty tempting. But this isn't like changing a car tyre; it's more like performing microsurgery on a piece of tech where every millimetre matters.
The inside of your MacBook is an incredible feat of engineering, but it’s also incredibly fragile. It’s a maze of paper-thin ribbon cables and tiny connectors, each one responsible for something critical – your webcam, microphone, ambient light sensor, and more. One wrong move, a little too much pressure, or a slip of a tool can tear one of these vital links. Suddenly, your "simple" screen repair has created a whole new list of problems.
From a Small Crack to a Major Disaster
The biggest risk you take with a DIY job isn’t just failing to fix the screen. It’s the very real possibility of causing catastrophic damage to the core of your machine. Your MacBook’s logic board—the brain of the whole operation—is extremely vulnerable to static electricity and clumsy handling. Without the professional anti-static equipment we use in our workshop, a single accidental touch can short the entire board.
That kind of damage is often a death sentence for a MacBook. A fried logic board can cost more to replace than the laptop is even worth, instantly turning your cracked screen into a total write-off. This is the ultimate gamble of a DIY MacBook screen replacement.
And it's not the only thing that can go wrong. We've seen it all:
- Damaged Backlight Connectors: It’s easy to apply too much force and break the tiny backlight connector on the logic board. The result? A permanently black screen, even with a perfectly good new panel installed.
- Cracked Bezel or New Screen: The replacement screens themselves are incredibly delicate. We’ve had customers come to us after cracking the brand-new panel they just bought simply by applying uneven pressure during installation.
- Stripped Screws and Damaged Casing: Apple uses tiny, proprietary screws. Using the wrong size screwdriver—even one that feels close enough—can strip them, making it impossible to open or properly seal your device again.
A DIY repair kit doesn't come with the most important tools needed for the job: years of experience, a steady hand, and an understanding of how to navigate the intricate layout of Apple's hardware. What seems like a cost-saving measure can quickly become a very expensive lesson.
Apple’s Software Locks and Parts Pairing
Here’s the kicker. Even if you nail the physical installation, modern MacBooks throw another curveball at you: parts pairing. Apple has started electronically tying components like the screen to the device's logic board. This means that even a genuine new screen might not work properly—or at all—unless it’s calibrated with Apple's own proprietary software. And that software isn't available to the public.
This software block can disable features like True Tone or automatic brightness, leaving you with a second-rate display. It's a frustrating roadblock that even the most meticulous DIYer can't get around. A professional not only has the physical tools but also the knowledge to navigate these software hurdles and source parts that guarantee full functionality.
While the DIY spirit is admirable, our guide on how to fix a laptop screen offers more insight into just how complex these jobs are. At the end of the day, trusting your MacBook to an expert removes all these risks and gives you the peace of mind that comes with a warranty and a perfect repair, done right the first time.
Getting Your MacBook Ready for a Smooth Repair
Taking a few minutes to prep your MacBook before bringing it in for a screen replacement can make a world of difference. Think of it like prepping a room for a painter – a little bit of organisation beforehand ensures the job gets done faster and without any surprises.
By getting your MacBook ready, you’re not just protecting your data; you’re helping our technicians get straight to the repair. That means you get your device back in your hands that much sooner. Here are three simple but essential steps we ask every customer to take for a totally stress-free experience.
Step 1: Back Up All Your Important Data
First things first: back up your data. While a screen replacement is a hardware-only job and shouldn't affect your files, it's always better to be safe than sorry. Technology can be unpredictable, and having a complete copy of your data is the best insurance policy you can have.
The easiest method by far is using Time Machine, the backup tool built right into macOS. Just connect an external hard drive, and Time Machine will handle the rest, automatically saving everything from your documents and photos to your apps and settings.
Your data is your responsibility, and a pre-repair backup is non-negotiable. It’s a simple action that gives you complete control and ensures that no matter what happens, your valuable information is safe and sound.
Step 2: Disable Find My Mac
Next up, you'll need to temporarily turn off the 'Find My' feature. This security function includes an Activation Lock, which is fantastic for preventing theft but can unfortunately block our technicians from running essential tests after the repair is done.
To make sure your new screen is working perfectly, we need to run a full suite of diagnostics. Turning 'Find My' off allows us to perform these crucial quality checks without any hitches.
Here’s how to do it:
- Click the Apple menu in the top-left corner and go to System Settings.
- Click on your Apple ID at the top of the sidebar.
- Select iCloud.
- Find Find My Mac and switch the toggle to off.
Don't forget to turn this feature back on as soon as you get your repaired MacBook home.
Step 3: Have Your Password Ready
Lastly, we may need your password to log in once the new screen is installed. This is purely for testing. We need to check that the webcam, microphone, ambient light sensor, and True Tone are all communicating correctly with the new display.
We take your privacy seriously and will only access what’s absolutely necessary for diagnostics. If you're not comfortable sharing your main password, no problem at all. You can simply create a temporary guest account with standard permissions. This gives us the access we need to finalise the repair while your personal account remains completely private.
Got a Few More Questions? Let's Clear Things Up
It's completely normal to have a few last-minute questions before you hand over your MacBook for a screen repair. We get it. You want to be sure you're making the right call.
We’ve put together answers to the most common queries we hear from our customers right here in Perth. Our goal is to be completely upfront, so you feel confident and know exactly what to expect.
How Long Will This Actually Take?
We know you need your MacBook back, fast. For the most popular MacBook Air and MacBook Pro models, we keep high-quality screens in stock. This means we can often get the job done on the same day you bring your machine in.
What if you have a less common model or one that needs a special part? No worries. It usually only adds about 1-2 business days to the process. We'll always give you a firm and honest time estimate when we provide your free quote.
Is My Data Safe? Will I Lose Anything?
Relax, a screen replacement is all about the hardware. The repair doesn't touch your hard drive, which means your documents, photos, apps, and files should not be affected at all.
That said, we always recommend doing a full backup before any kind of repair. It's just smart practice. Think of it as an insurance policy for your important information, giving you that extra layer of peace of mind while your MacBook is in our care.
We stand behind the quality of our work. Every MacBook screen replacement is backed by a comprehensive warranty that covers both the new part against any defects and the skilled labour performed by our technicians.
What About a Warranty?
Yes, absolutely. We're proud of the quality of our work and the parts we use. Every single MacBook screen replacement we complete is backed by a comprehensive warranty.
This covers the new screen against any manufacturing faults and also protects the labour our technicians performed. We’ll spell out the specific terms clearly on your repair invoice, so you have everything in writing.
Can You Handle the Newer M1, M2, and M3 MacBooks?
We sure can. Our team is fully trained and has all the specialised tools needed to work on Apple's latest silicon MacBooks, including the M1, M2, and M3-powered machines. These newer models have incredibly complex display assemblies and security features that require a real expert's touch.
Our technicians have the hands-on experience needed to handle these intricate repairs properly. The best way to get started is to bring your MacBook in for a free assessment, and we can give you a precise quote tailored to your specific model.
Ready to get that crystal-clear screen back? For a fast, reliable, and affordable MacBook screen replacement in Perth, trust the experts at CTF Mobile Phones & Computer Repairs. Get your free quote today by visiting us at https://www.ctf.com.au.